Travel photography is a unique way to capture the essence of different cultures, landscapes, and experiences around the world. For beginners, understanding the fundamentals of travel photography can elevate your shots from simple snapshots to stunning, memorable images. This guide will cover everything from essential equipment choices to post-processing techniques, helping you capture professional-quality photos that tell the story of your travels.
Table of Contents
Choosing the Right Equipment for Travel Photography
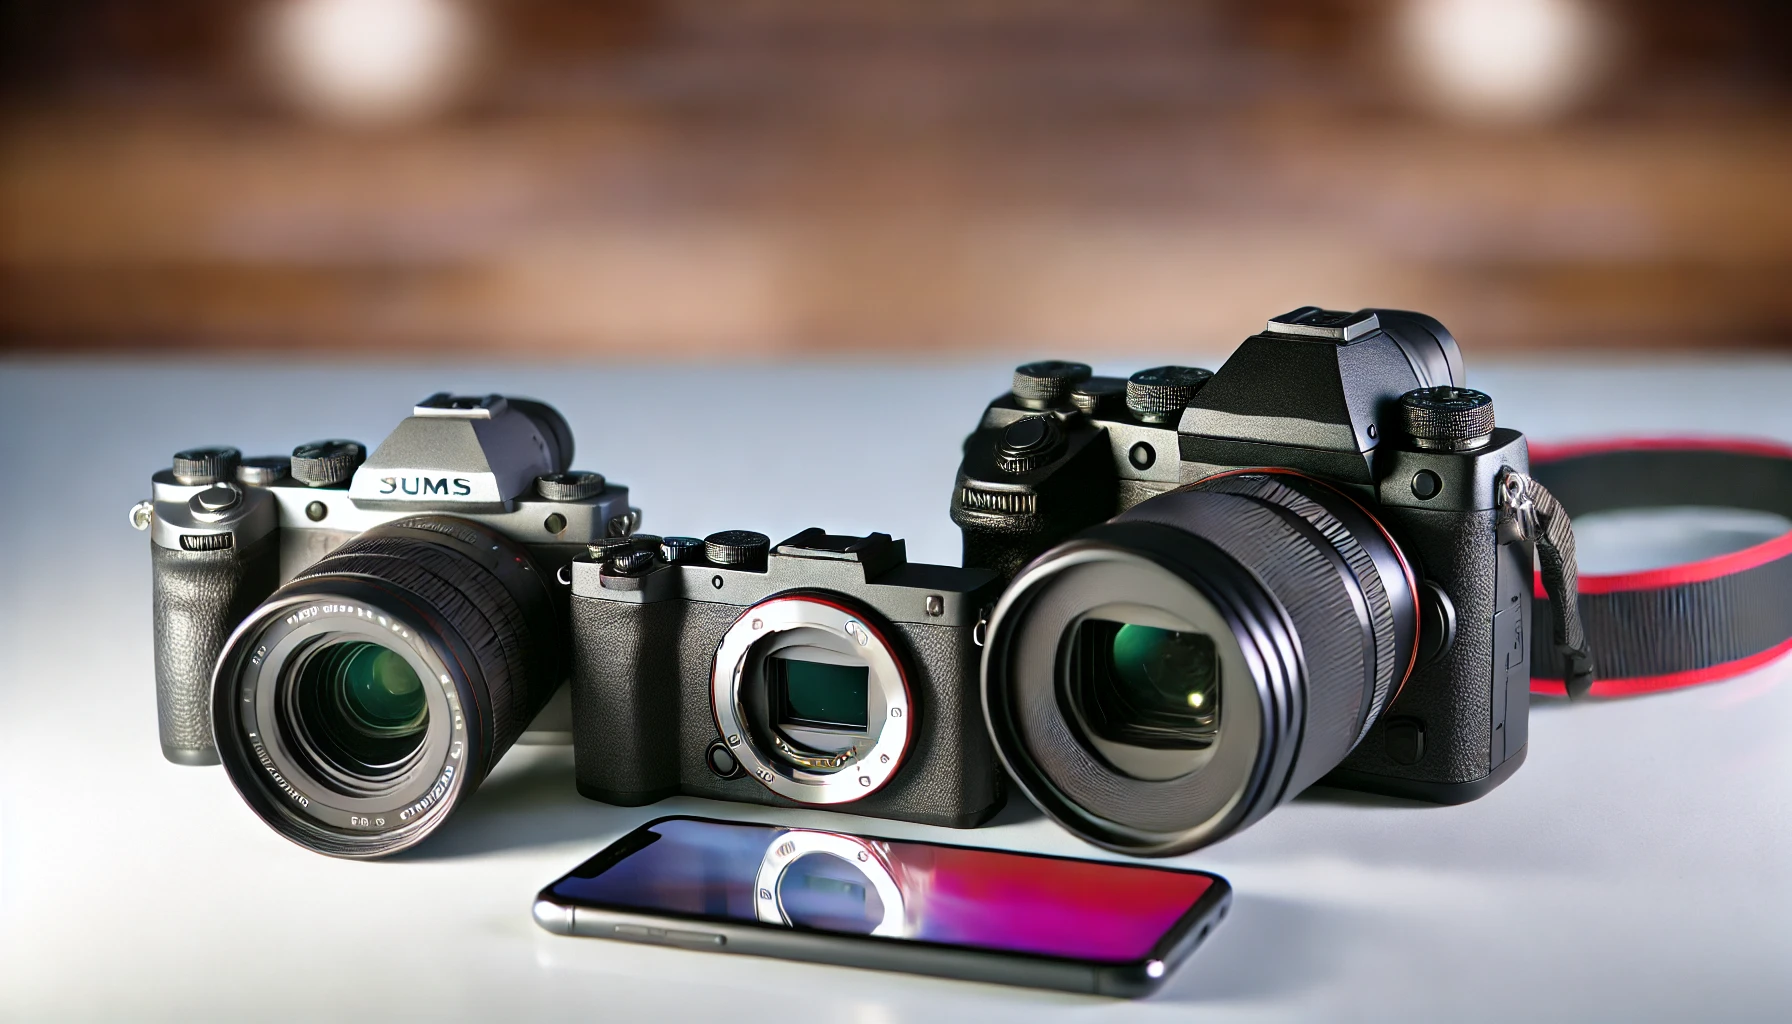
Camera Selection: DSLRs, Mirrorless, and Smartphones
Selecting the right camera is crucial to the quality and flexibility of your photography. For travel, your choice should be practical and versatile to handle different scenarios.
- DSLRs: These cameras are known for their durability, longer battery life, and superior ergonomics. They work well in various environments and offer high-quality image output. DSLRs are ideal for extended trips or for those who need long shooting hours without worrying about recharging frequently.
- Mirrorless Cameras: Compact and lighter, mirrorless cameras are an excellent choice for travel due to their portability. They offer high image quality and modern features, including better video capabilities. However, their battery life may be shorter than DSLRs, so carry extra batteries when using them.
- Smartphones: Many recent smartphones have high-quality cameras with impressive capabilities. With multiple lenses and software-enhanced shooting modes, smartphones are a great choice for beginners who prefer light travel without additional gear.
Selecting Lenses for Travel Photography
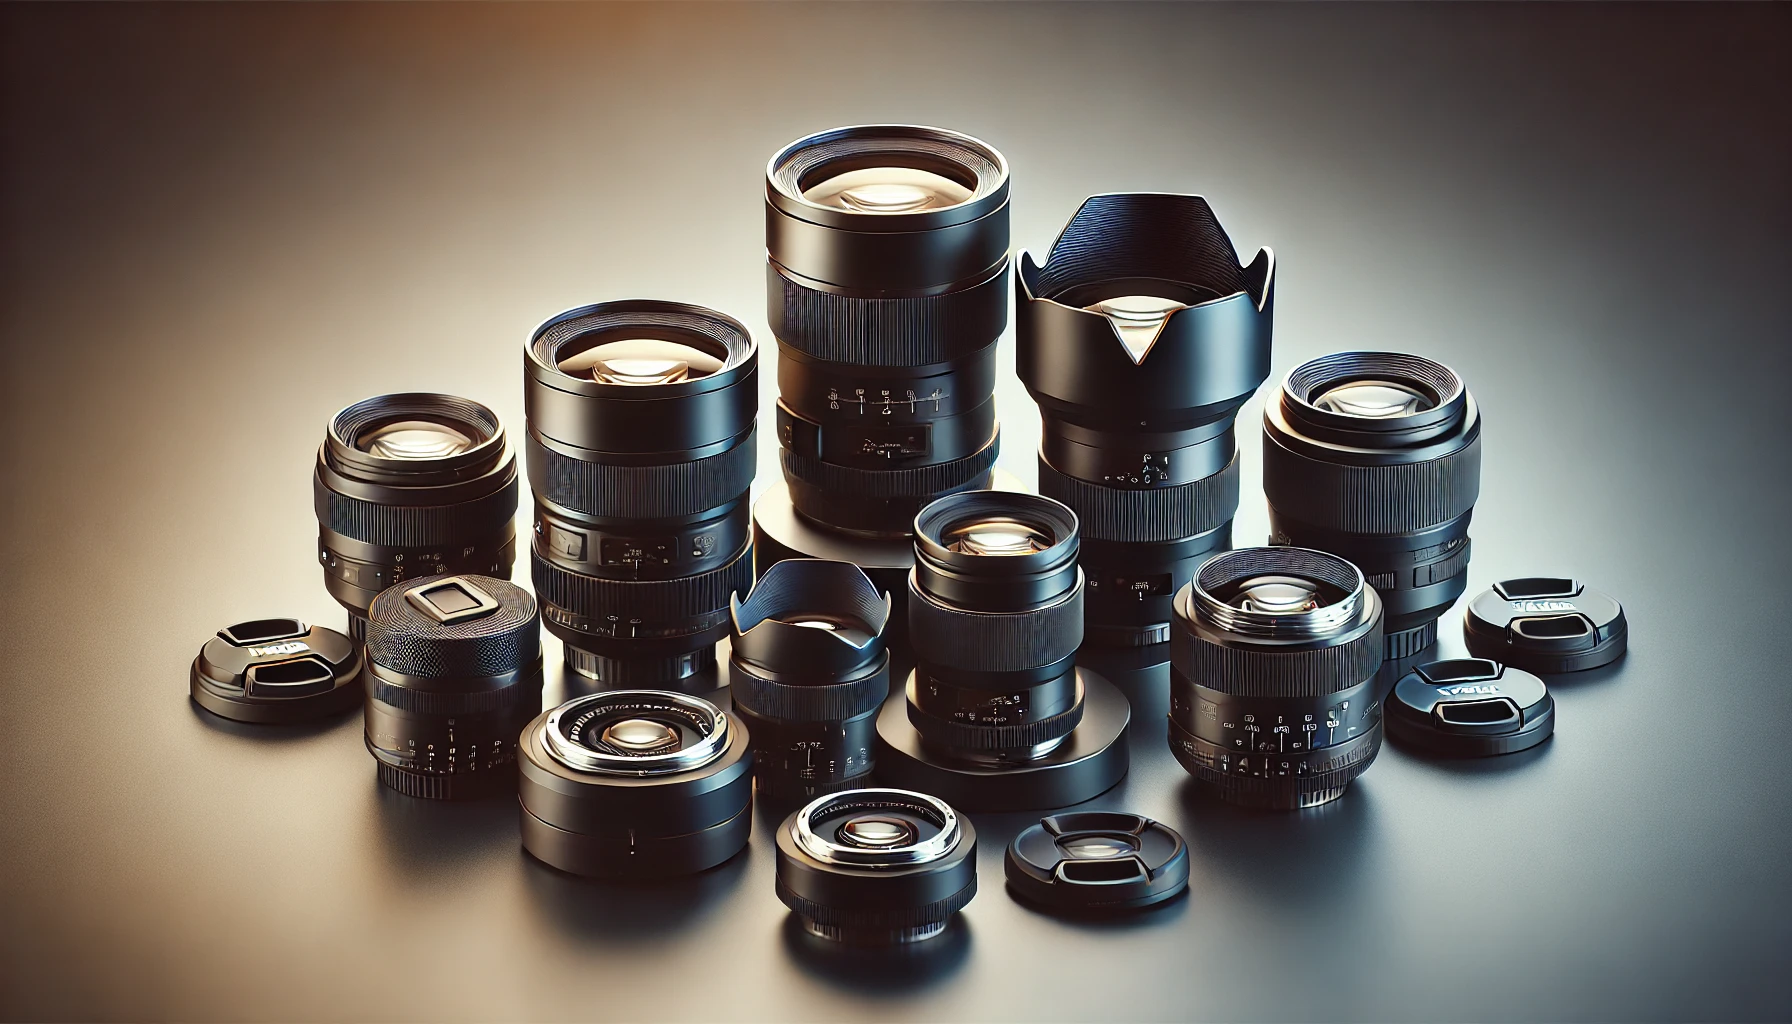
The lens you choose plays a significant role in framing, capturing detail, and producing clear images. Each type of lens serves a specific purpose, and understanding them helps you choose the right one for each travel situation.
- Wide-Angle Lenses: Essential for landscapes, cityscapes, and architecture photography, wide-angle lenses allow you to capture more of the scene.
- Telephoto Lenses: Ideal for wildlife and far-off subjects, these lenses help bring distant objects closer, making them excellent for safaris or mountain views.
- Prime Lenses: Known for their wider apertures, prime lenses are ideal for low-light and portrait photography. They produce sharp images with beautiful bokeh, isolating the subject from the background.
- All-in-One Zoom Lenses: For convenience, some photographers prefer all-in-one zoom lenses, which can switch from wide to telephoto without needing a lens change. They are heavier but reduce the need for multiple lenses.
Essential Accessories for Travel Photography
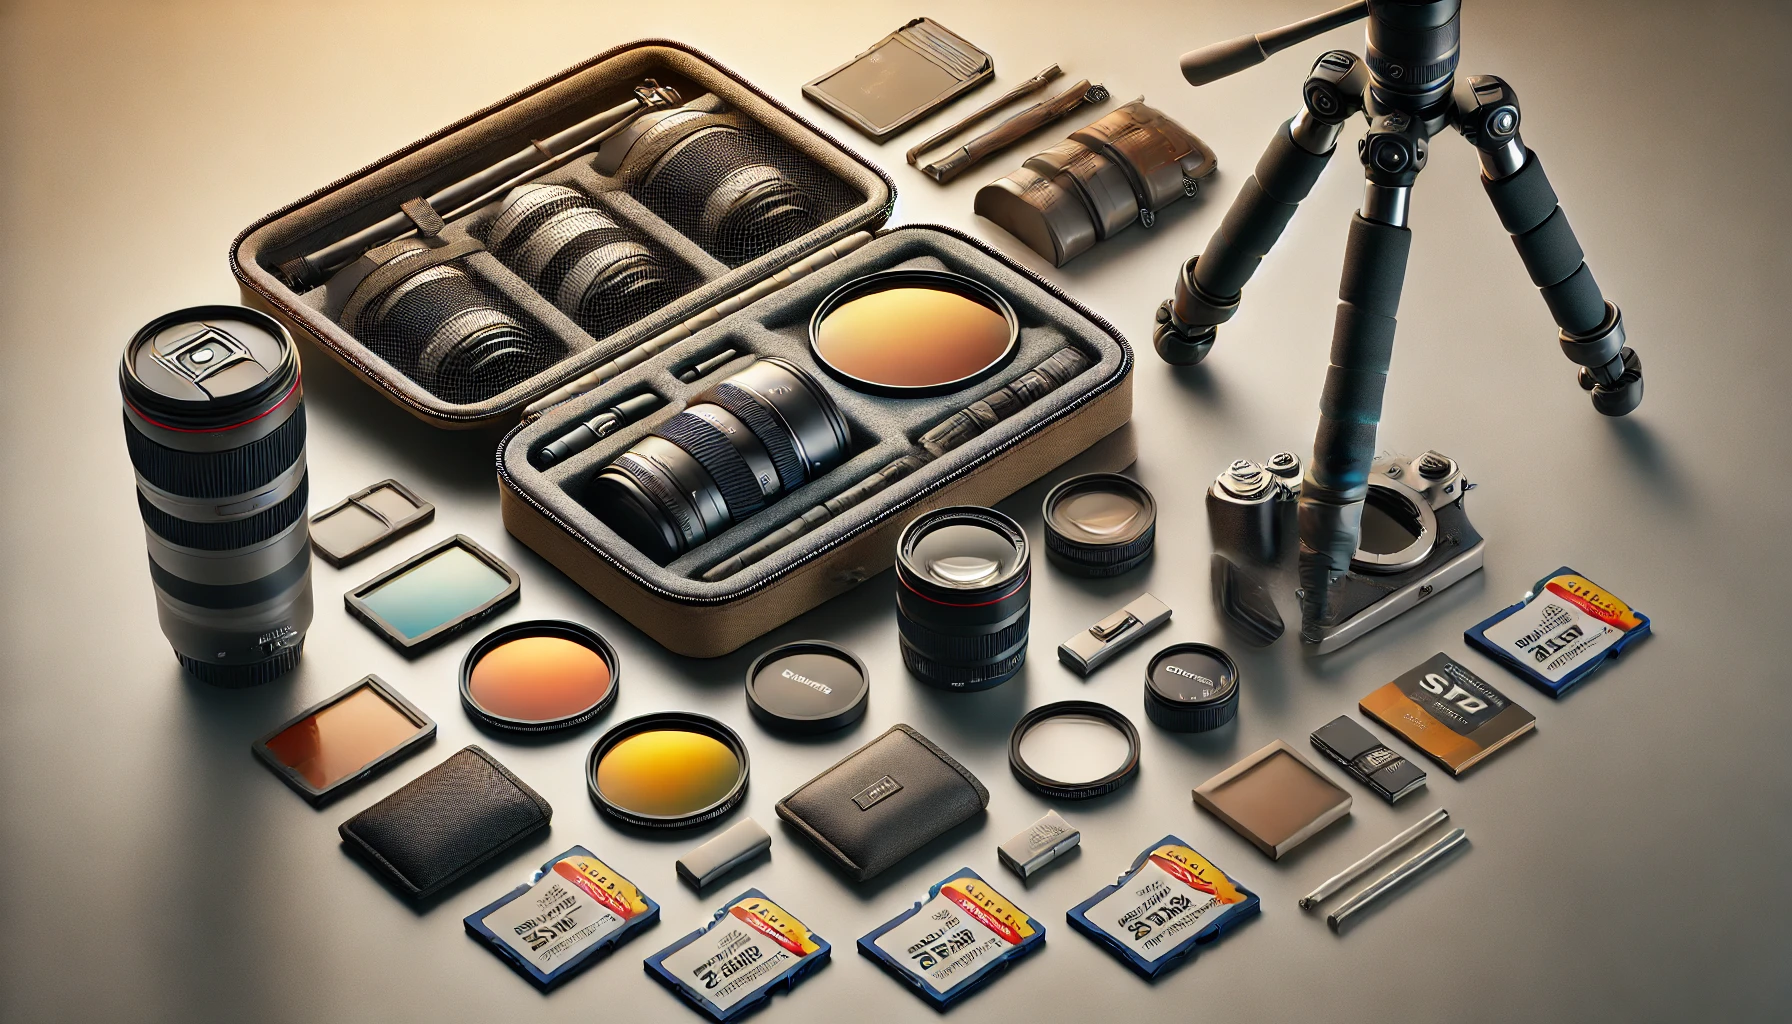
In addition to a camera and lenses, certain accessories can greatly enhance your ability to capture diverse shots.
- Tripod: A lightweight tripod is crucial for low-light and night photography, helping stabilize the camera for long-exposure shots.
- Filters: Neutral Density (ND) filters are useful in bright daylight, allowing for controlled exposure times that result in smooth water effects or cloud movement. Polarizing filters help reduce glare and increase color saturation, enhancing the look of skies and reflections.
- Spare Batteries and Memory Cards: Travel photography often means extended hours of shooting, so carrying extra batteries and memory cards ensures you won’t miss important moments.
Mastering Composition Techniques for Stunning Photos
Composition is key in transforming a basic photo into a professional-looking image. These composition techniques will help you create dynamic, balanced photos.
Rule of Thirds
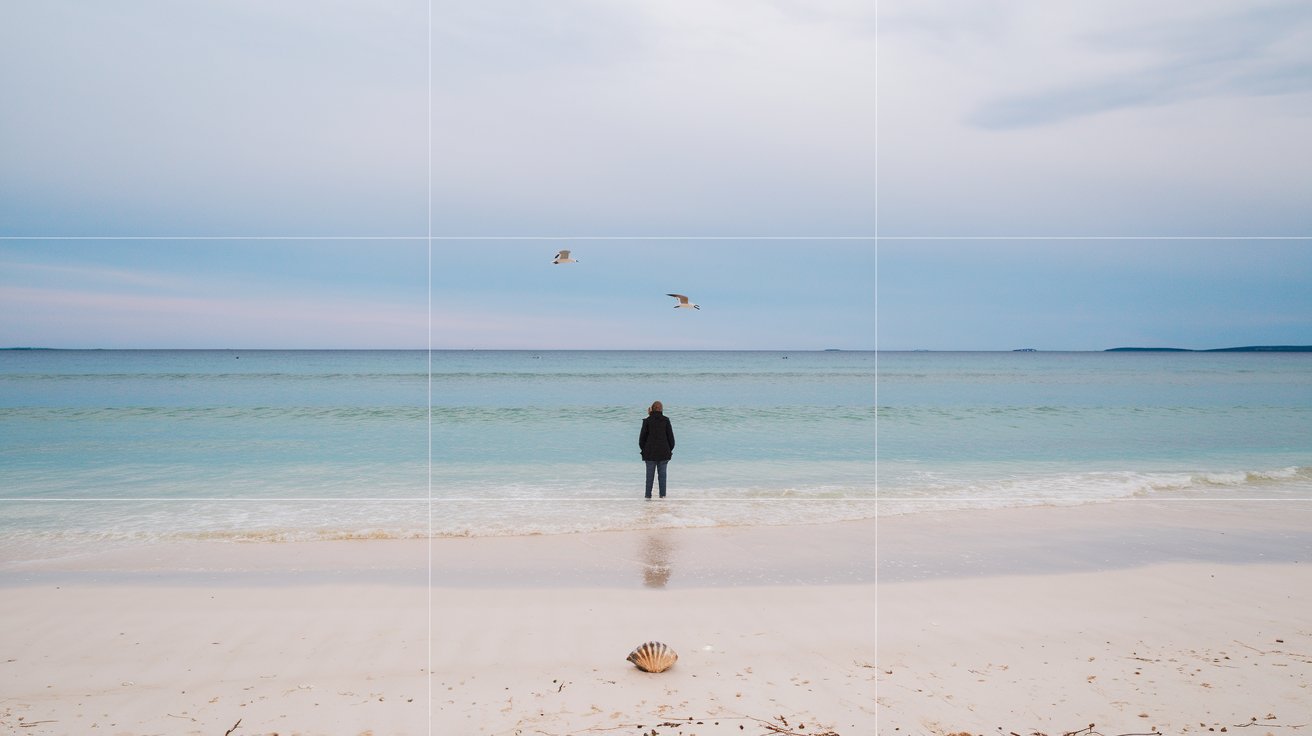
The rule of thirds is one of the most fundamental guidelines in photography. Divide the frame into a 3×3 grid, and position your subject along the lines or at the intersections. This arrangement creates a balanced composition, drawing the viewer’s eye naturally to the subject.
Leading Lines
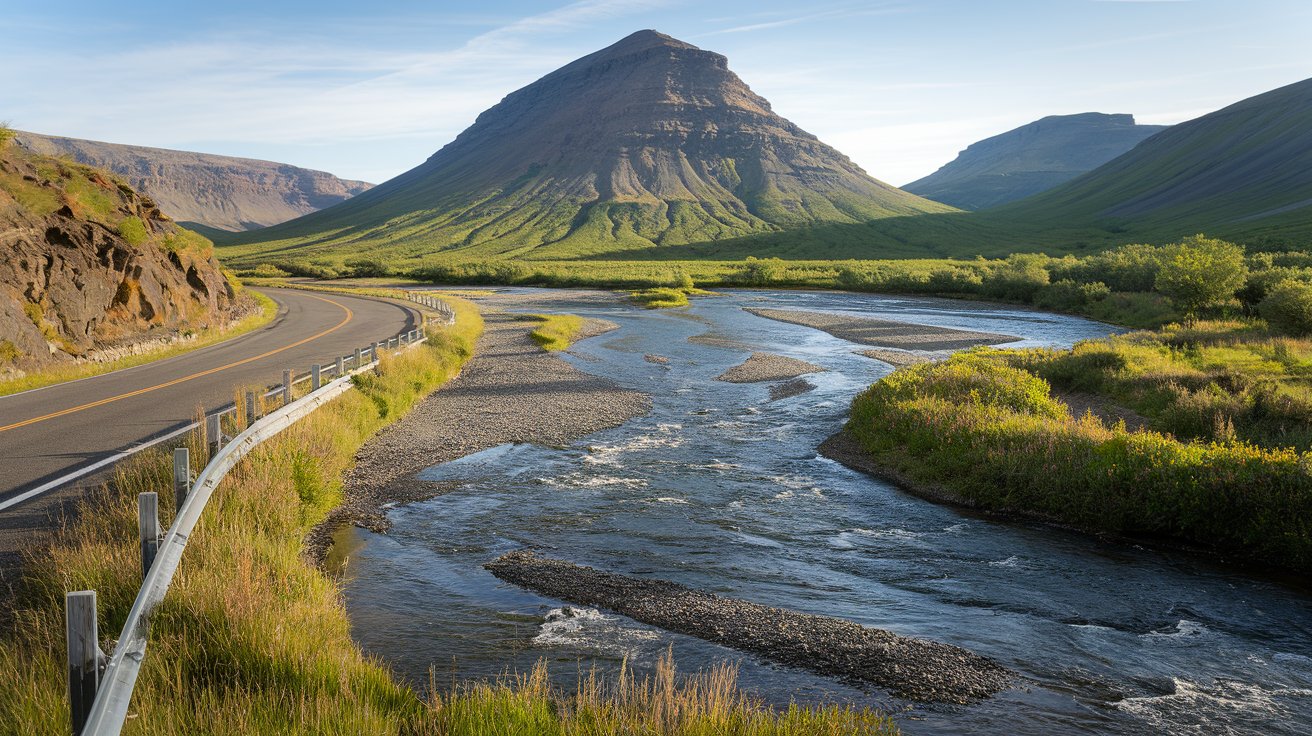
Leading lines are features that guide the viewer’s gaze through the photo. Roads, rivers, fences, or even architectural elements can serve as leading lines, providing depth and directing focus toward your main subject.
Framing Your Subject
Use natural or architectural elements like tree branches, doorways, or archways to frame your subject within the shot. Framing not only adds context but also helps focus attention on the subject, making the image more engaging.
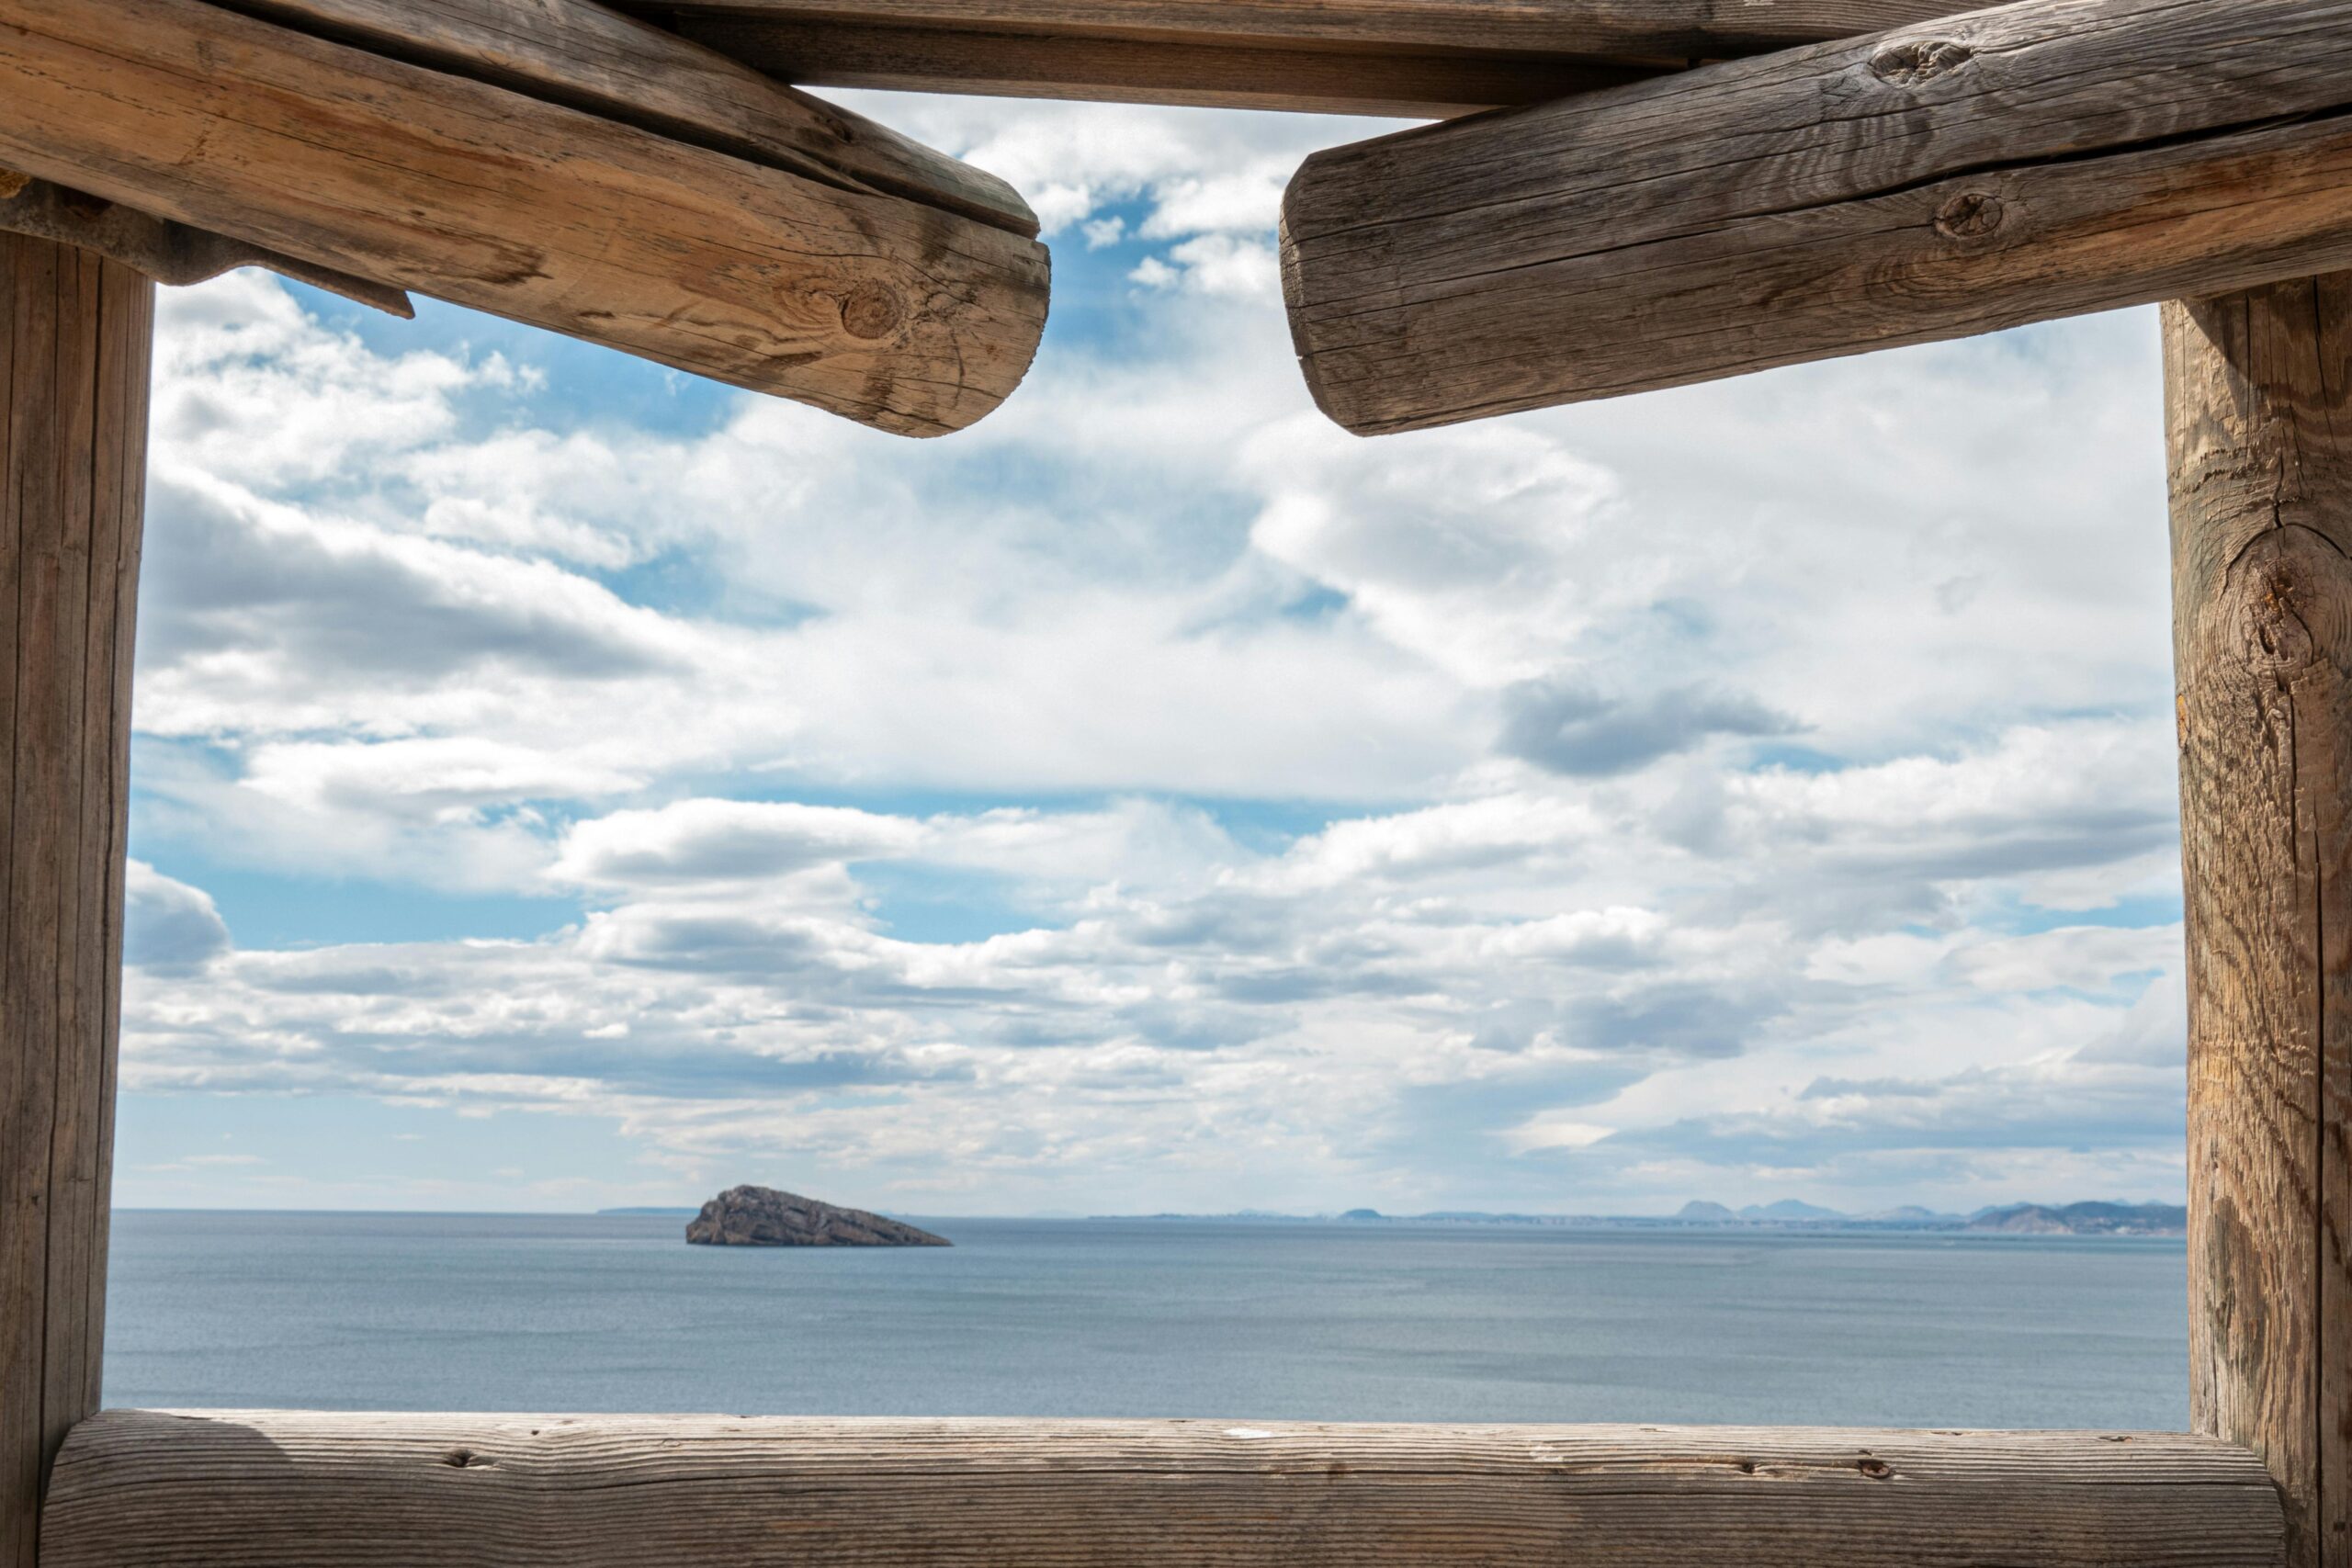
Symmetry and Patterns
Symmetry and repeating patterns are visually pleasing and create a sense of harmony in your images. Look for symmetrical elements like reflections, buildings, or streets. Using patterns and symmetry in composition often creates a more polished and professional look.
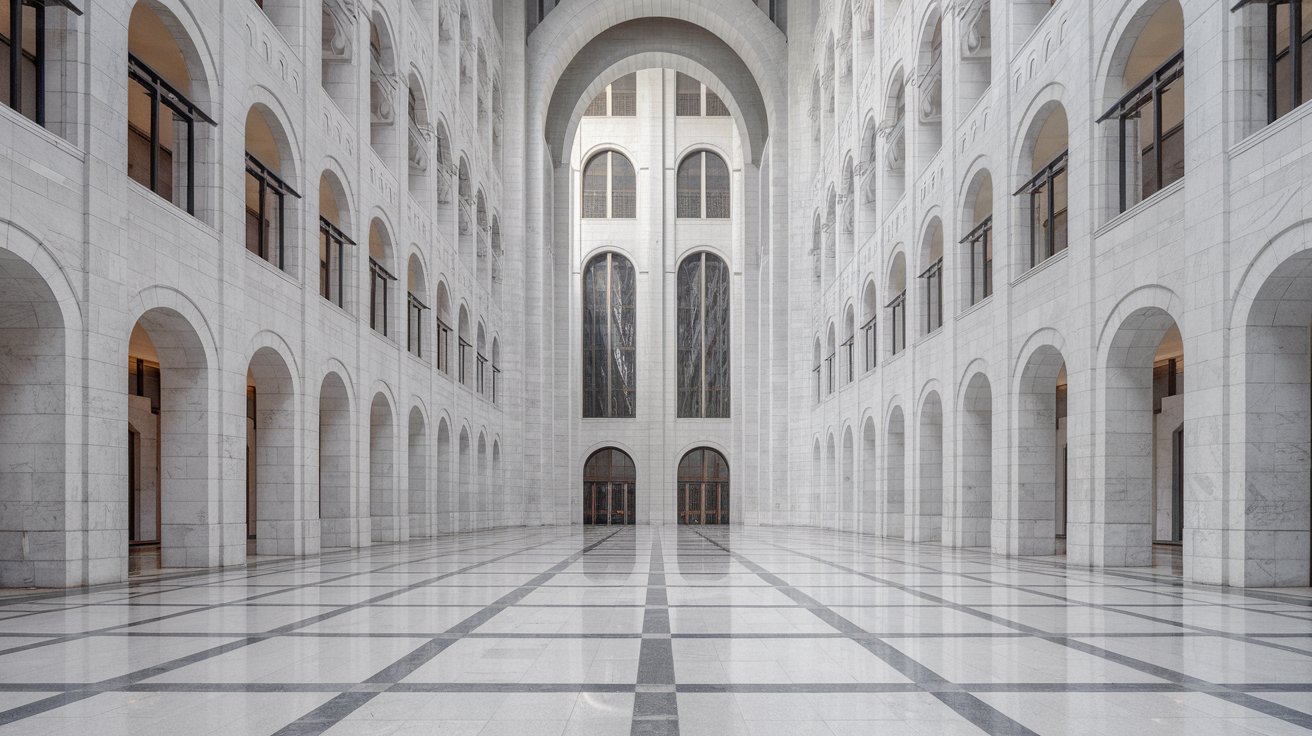
Negative Space
Negative space refers to the empty area around the subject. Allowing for ample negative space in a photo helps emphasize the subject and conveys a sense of scale, making the subject stand out more effectively.

Understanding Light and Timing for Travel Photography
Light is a fundamental component of photography, and learning to manage it well can significantly improve your travel shots.
Golden Hour: Capturing Soft, Warm Light
Golden hour is the hour after sunrise and the hour before sunset when the sunlight is softer and warmer. This time provides ideal lighting for most types of travel photography, especially landscapes and portraits, as it reduces harsh shadows and enhances colors.
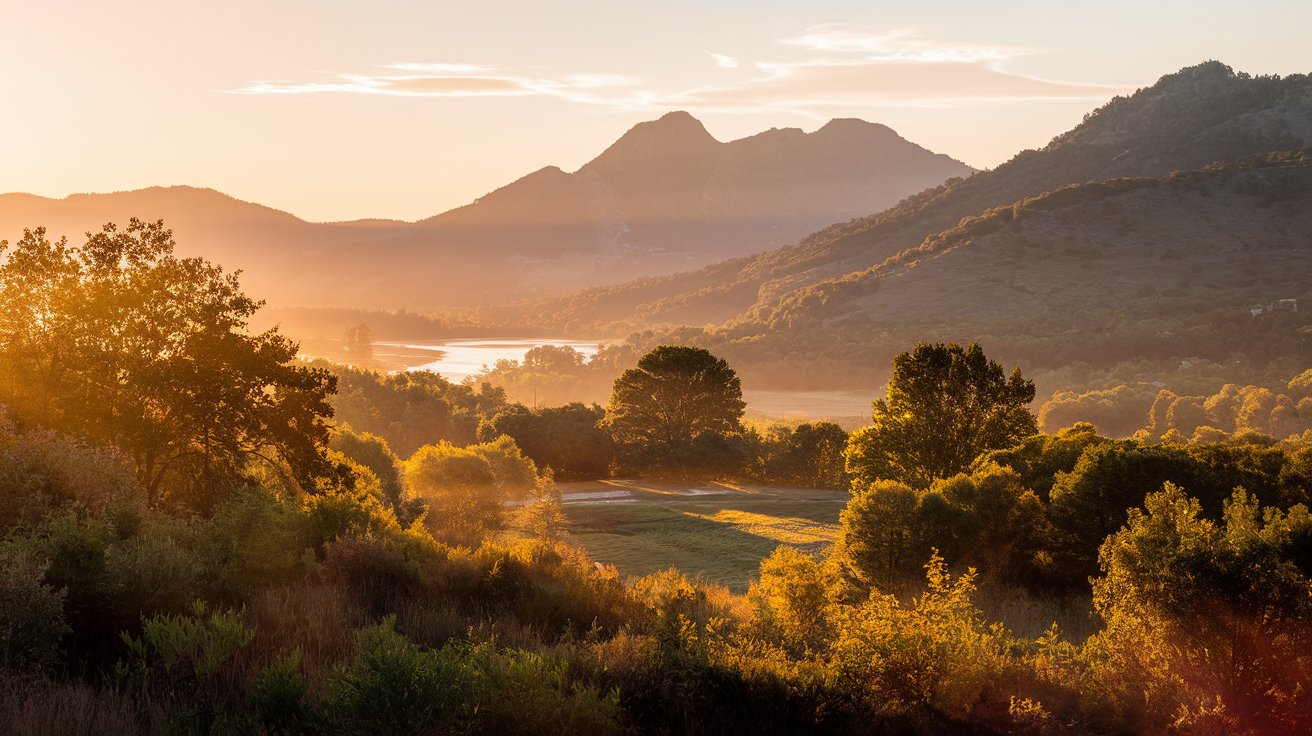
Blue Hour for Dramatic Scenes
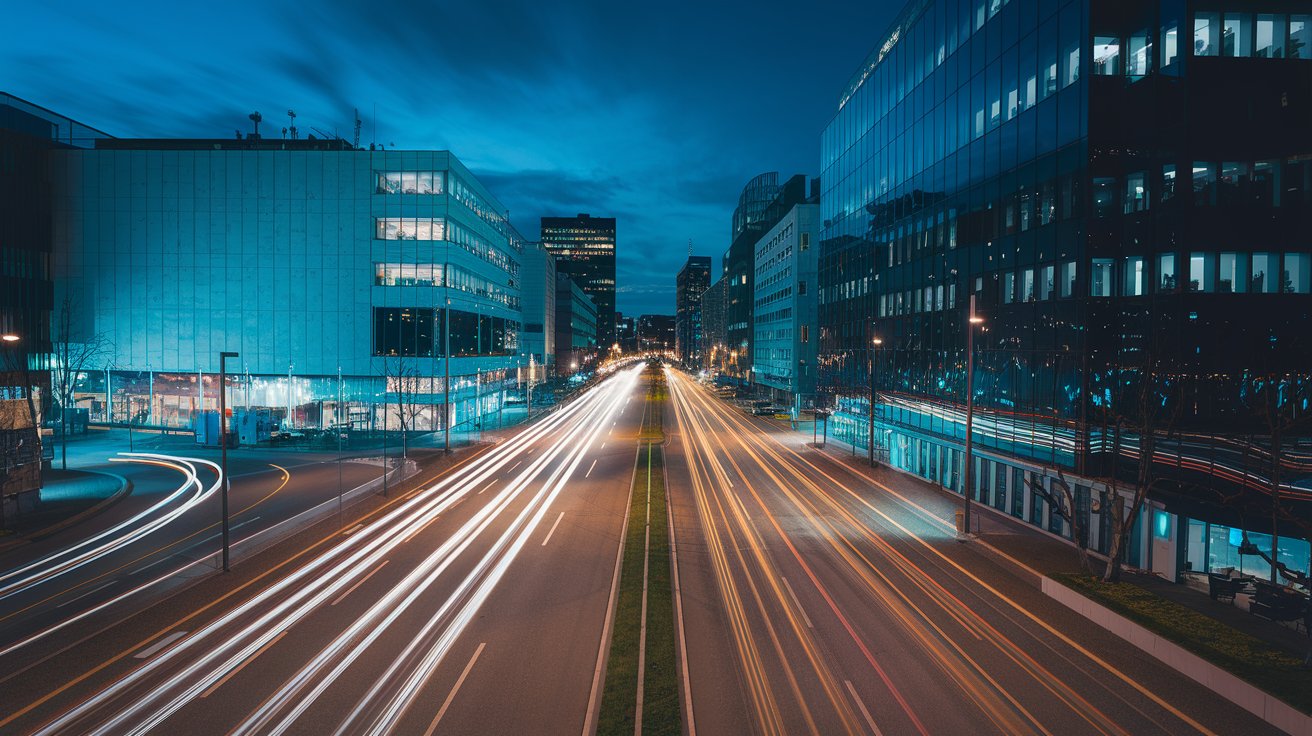
The blue hour, occurring just before sunrise and after sunset, casts a cool, blueish tone over the environment. This soft, diffused lighting is ideal for cityscapes and moody landscapes, creating dramatic photos that convey tranquility.
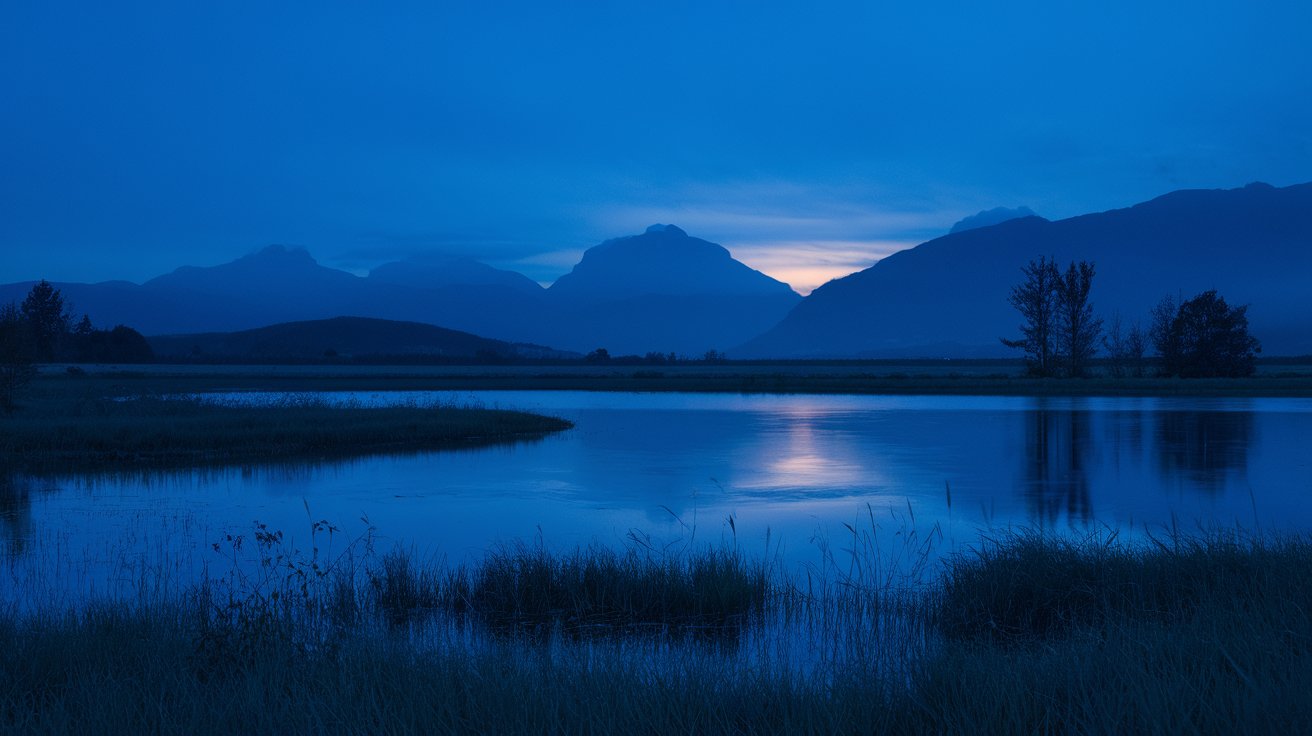
Managing Harsh Midday Light
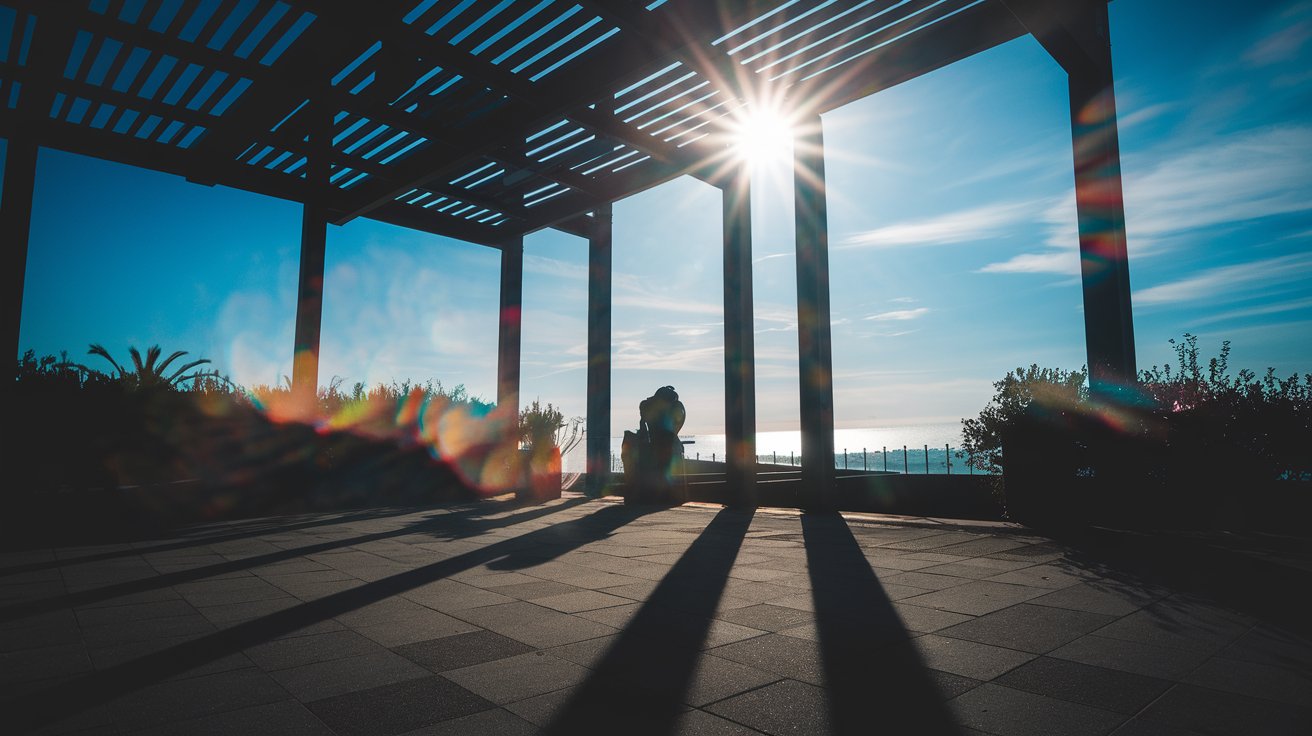
Midday light can be harsh, especially in sunny environments. To manage harsh lighting, try shooting in shaded areas or using a polarizing filter to reduce glare. Alternatively, use the intense sunlight to your advantage by experimenting with silhouettes or high-contrast images.
Night Photography
Night photography adds a new dimension to travel photography, particularly in urban settings. Use a tripod to stabilize your camera, allowing for long exposures that capture light trails or illuminate buildings. Adjust your ISO settings for low-light conditions but keep it moderate to avoid grainy images.
Key Camera Settings for Travel Photography
Understanding how to control your camera’s settings is essential for producing high-quality travel photos. Here are the main settings to consider:
ISO: Balancing Sensitivity with Noise
ISO adjusts the camera’s sensitivity to light. Lower ISO settings (100–200) are ideal for bright conditions, producing clearer images with less noise. In low-light situations, increasing the ISO can brighten your photo, but use caution—higher ISO levels may introduce noise, reducing image quality.
Aperture: Controlling Depth of Field
Aperture (f-stop) determines how much light enters the lens and controls depth of field. A wider aperture (e.g., f/2.8) allows more light and creates a shallow depth of field, which is ideal for portraits. A narrower aperture (e.g., f/11) lets in less light and provides a deeper depth of field, making it suitable for landscapes.
Shutter Speed: Capturing Movement
Shutter speed affects motion in your photos. Faster shutter speeds (e.g., 1/1000) freeze movement, useful for wildlife and action shots. Slower shutter speeds (e.g., 1/30) capture motion blur, adding a sense of dynamism to waterfalls, rivers, or busy city streets.
White Balance: Accurate Colors for Different Lighting
White balance adjusts the color temperature of your images, ensuring the colors appear natural under various lighting conditions. For instance, set your camera to “daylight” during sunny conditions or “tungsten” when shooting under artificial lighting.
Planning and Researching for Travel Photography
Preparation and research are vital for effective travel photography, helping you make the most of each location and timing your shots well.
Research Destinations and Iconic Locations
Before your trip, explore online resources, social media platforms like Instagram, and travel photography blogs to find unique spots. Researching iconic landmarks, viewpoints, and hidden gems helps ensure you capture all the best locations, saving you time on the ground.
Optimize for Weather and Lighting Conditions
Check weather forecasts and seasonal information before traveling. Clear skies might work well for cityscapes, while cloudy weather can add drama to landscapes. Planning around lighting conditions, such as timing your visits during golden or blue hours, ensures optimal results.
Be Culturally Respectful and Seek Permission
Always respect local customs and ask for permission when photographing people, particularly in sensitive or religious locations. Not only does this show respect, but it also often results in more authentic and cooperative portraits, as people are more likely to relax and engage when treated respectfully.
Experimenting with Different Photography Styles
Travel photography encompasses a range of styles, each capturing unique aspects of your journey. Experimenting with different styles allows you to tell a more complete story.
Landscape Photography
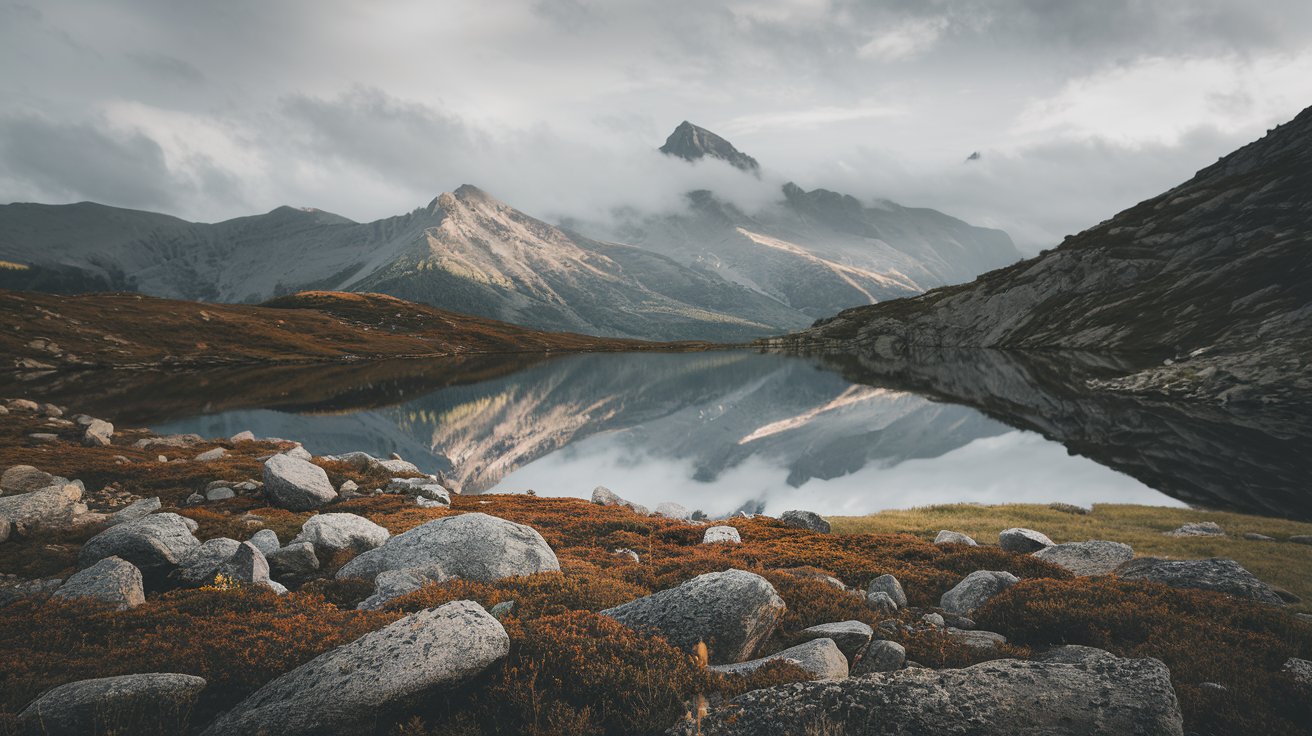
Landscapes are among the most popular travel photography genres. Use a wide-angle lens and a narrow aperture (e.g., f/11 or f/16) to capture the scene in sharp detail from foreground to background. Look for interesting foreground elements, like rocks or flowers, to add depth to your composition.
Portrait Photography
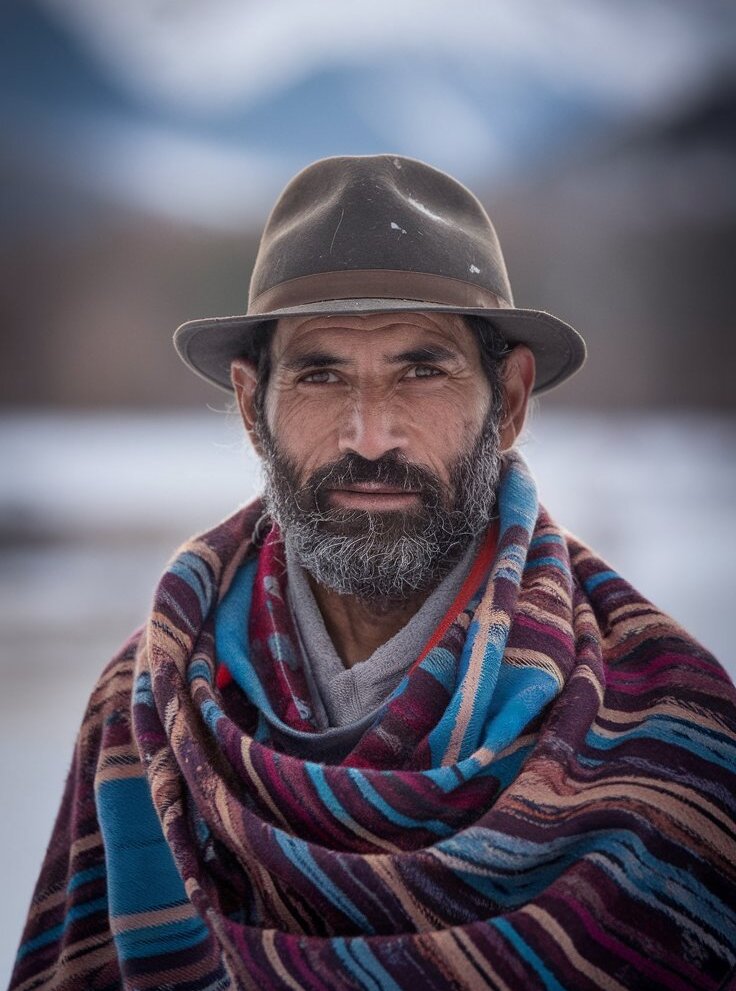
Photographing locals provides an authentic perspective of the culture. For portraits, use a wide aperture (e.g., f/2.8) to create a shallow depth of field, isolating the subject against a softly blurred background. Engage with your subject and seek their permission, ensuring your portraits are respectful and genuine.
Street Photography
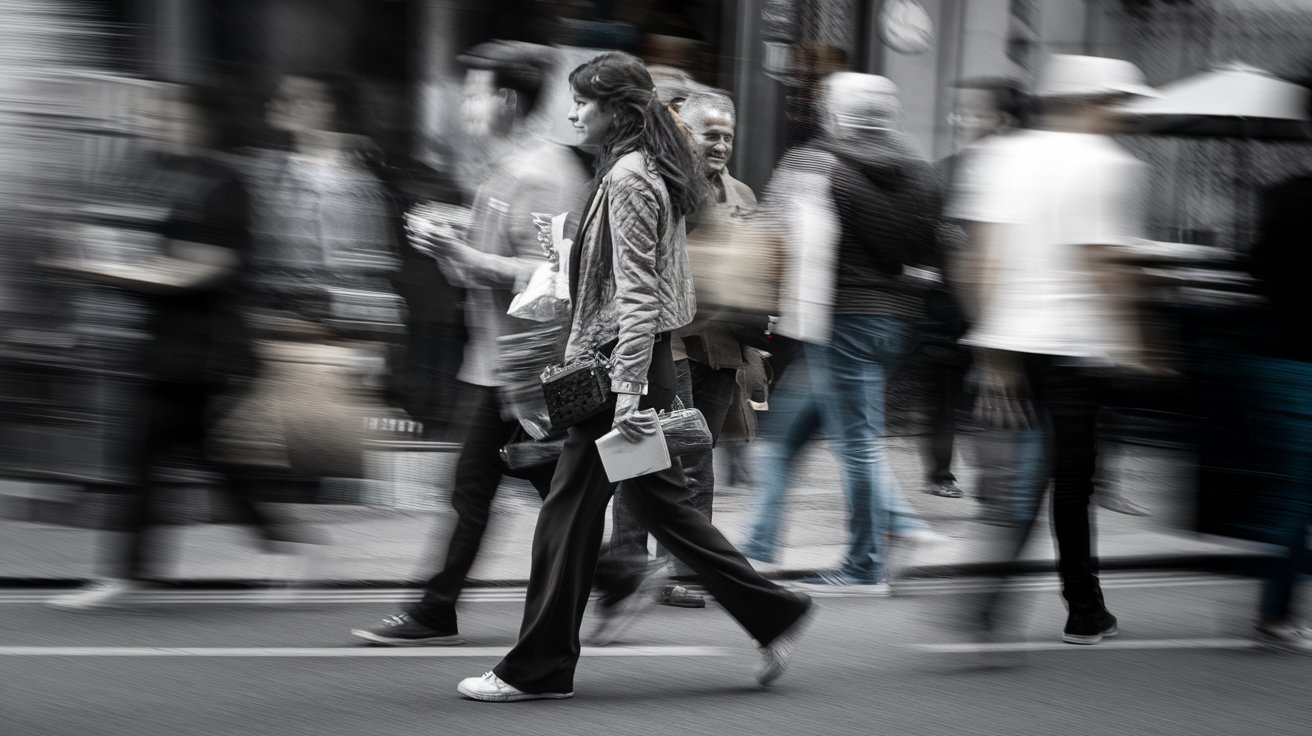
Street photography captures the raw essence of daily life. Use a fast shutter speed to capture quick moments, and consider using a prime lens for unobtrusive shooting. This style emphasizes candid, unplanned moments, offering an honest portrayal of local lifestyles.
Wildlife Photography
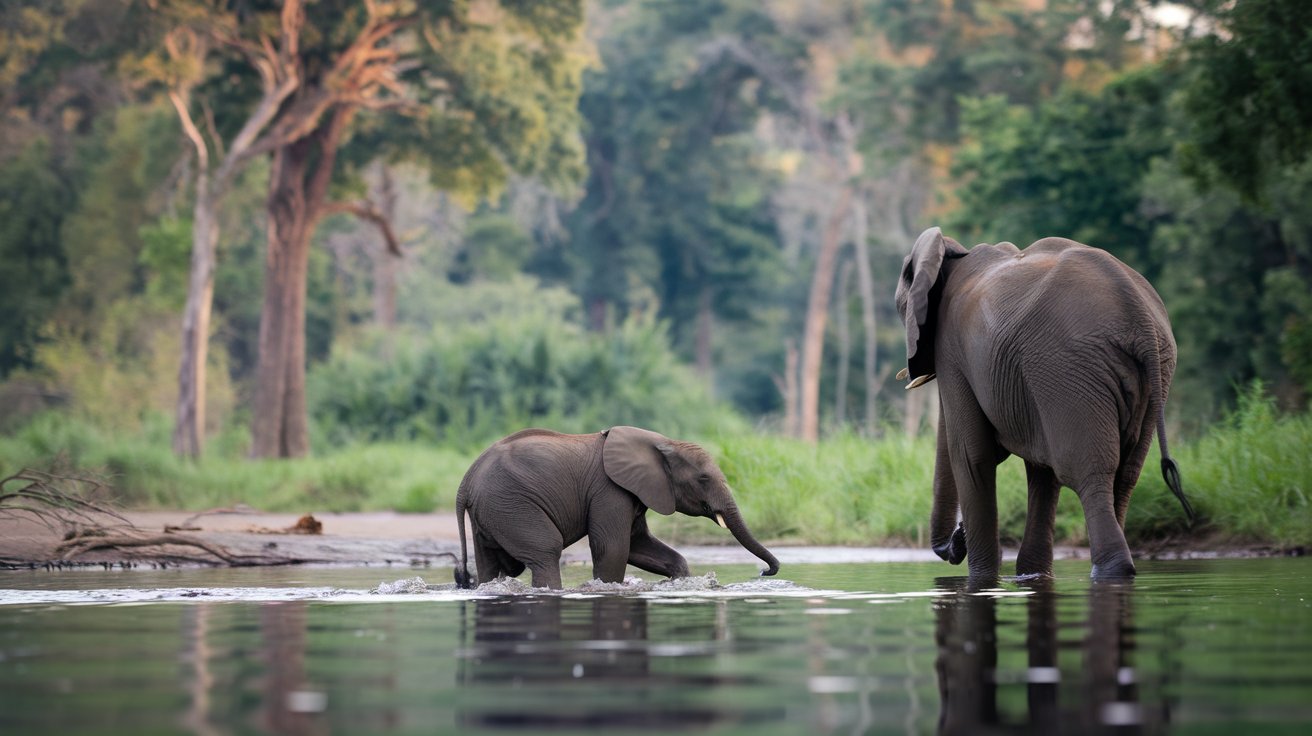
If your travels take you to places with wildlife, be prepared with a telephoto lens to capture animals from a safe distance. Patience is key in wildlife photography, as it often requires waiting for the right moment to capture natural behaviors.
Architectural Photography
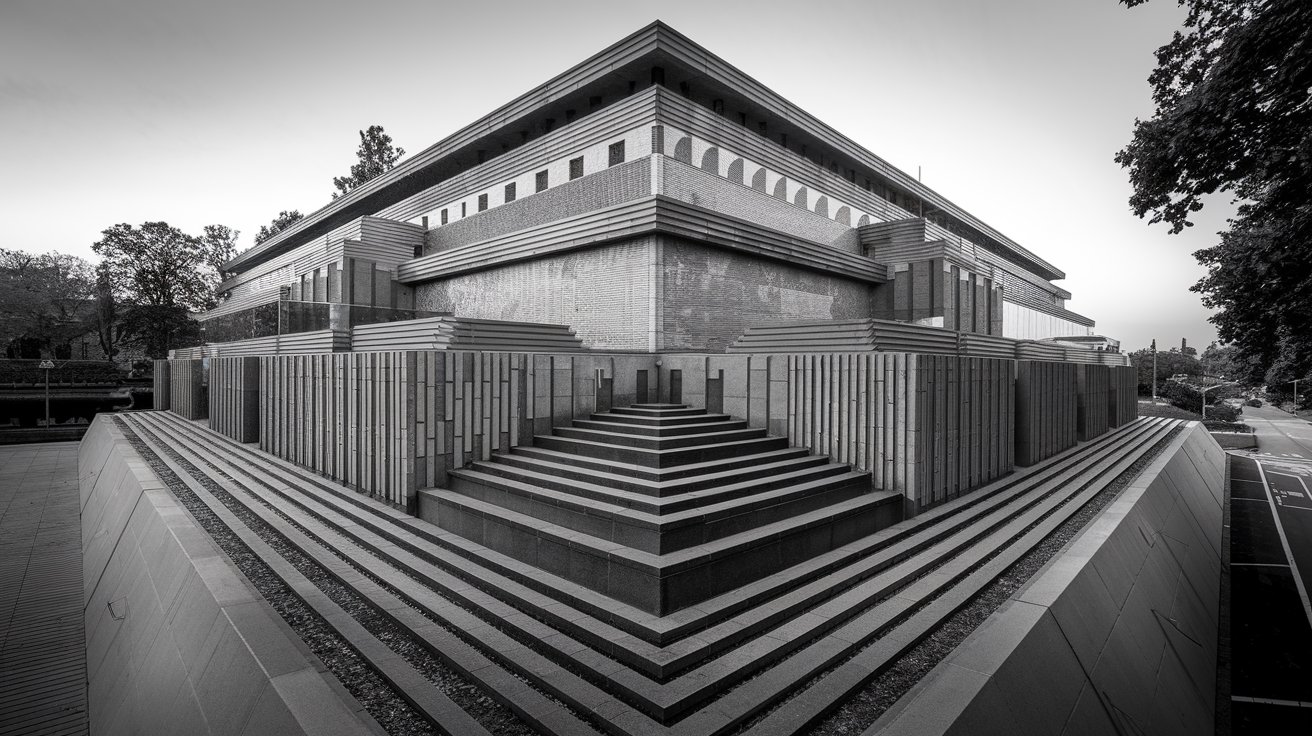
Architecture offers unique lines, patterns, and textures that add variety to your travel portfolio. Experiment with different angles to capture details, and use a wide-angle lens to fit large buildings into the frame.
Editing Your Photos for a Polished, Professional Look
Post-processing enhances the quality and impact of your photos, helping you correct minor issues and highlight your artistic vision.
Basic Adjustments: Exposure, Contrast, and Saturation
Start with essential adjustments to correct lighting, contrast, and color. Increasing contrast can make images appear more dynamic, while adjusting exposure levels helps balance bright and dark areas.
Color Correction and Temperature
Adjust the color balance and temperature to convey the mood of the scene. For golden hour photos, increase warmth to highlight the natural glow, whereas for cityscapes or blue hour shots, cool tones may better suit the ambiance.
Dodging and Burning
Dodging and burning involve lightening or darkening specific areas of an image. This technique adds depth and directs attention to focal points, giving your photos a professional finish.
Sharpening and Noise Reduction
Apply sharpening to emphasize details, especially when printing your photos. Use noise reduction sparingly on high-ISO images to smooth out grain without losing detail.
Cropping and Straightening
Use cropping to improve composition, remove distractions, or adjust aspect ratios for different social media platforms. Straighten your photos to ensure horizons and architectural lines appear level.
By following these tips and techniques, you can build a strong foundation in travel photography, enabling you to capture vibrant, engaging images that tell a compelling story. Practice, patience, and a creative approach will help you develop your unique style and create lasting memories of your travels.
FAQs
What camera is best for beginner travel photography?
A mirrorless camera or a high-quality smartphone for portability and ease.
When’s the ideal time for travel photos?
Golden hour (sunrise/sunset) and blue hour (just before sunrise/after sunset)..
How do I take good portraits of locals?
Ask permission, engage respectfully, and use a wide aperture for focus.

