Photography is a powerful medium that combines technical skills with artistic vision. By mastering various techniques, we can turn ordinary images into works of art. This article delves into advanced photography techniques that enhance creativity, transform compositions, and evoke emotions in each shot.
Table of Contents
Long Exposure for Dramatic Motion
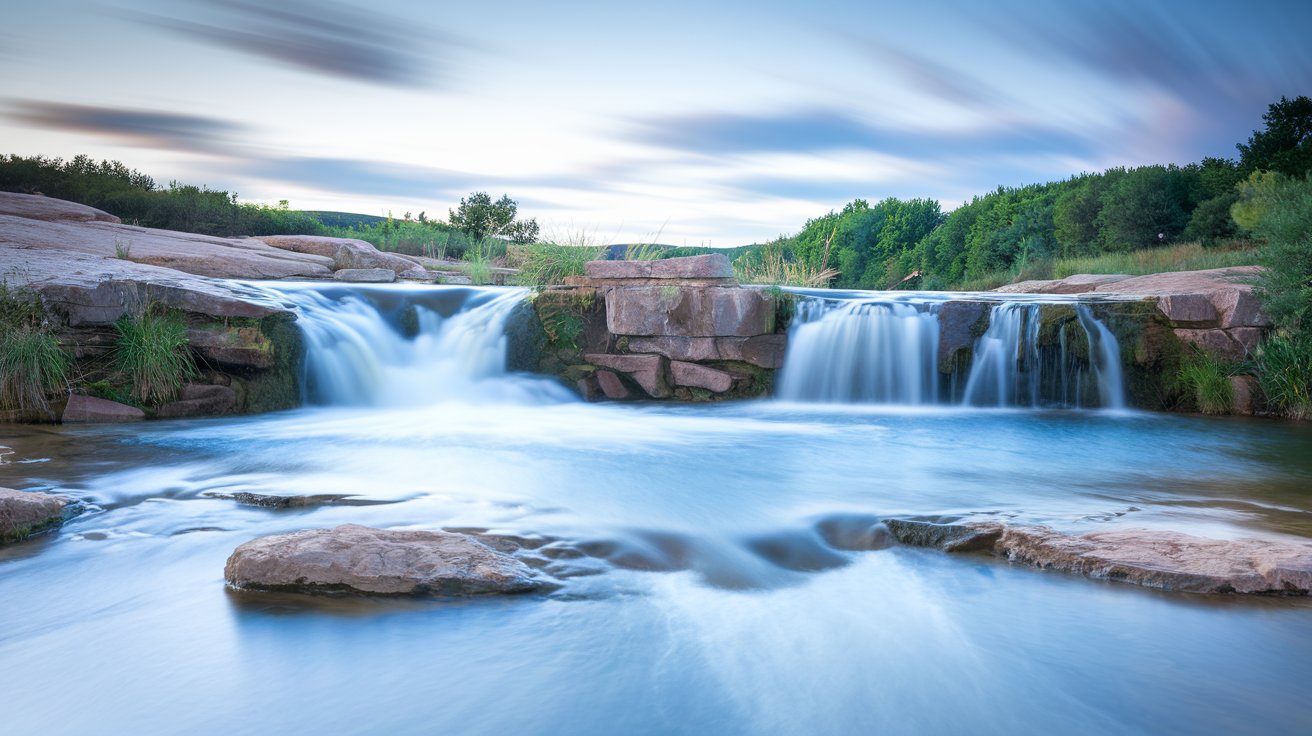
Long exposure photography captures the passage of time, making it ideal for scenes with moving elements like water, clouds, or traffic. Using a slow shutter speed (typically one second or longer), photographers can blur movement, creating a sense of fluidity.
Steps to Achieve Long Exposure
- Set up a tripod to stabilize the camera and reduce camera shake.
- Switch to manual mode and choose a low ISO setting.
- Select a narrow aperture (e.g., f/11 or f/16) to balance light intake.
- Use a neutral density (ND) filter to control light for daytime long exposure shots.
Double Exposure for Surreal Effects
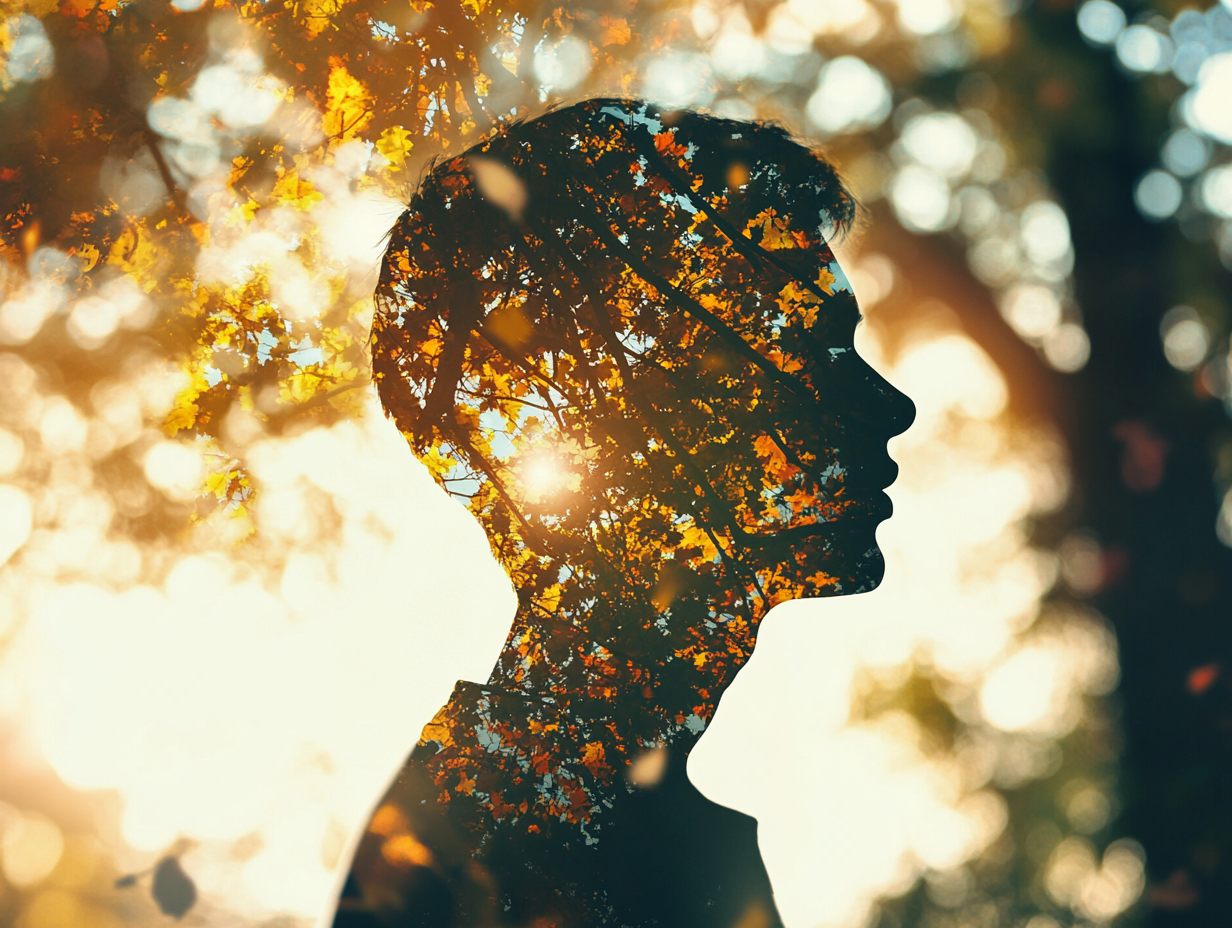
Double exposure merges two different images, producing dreamlike effects. This technique overlays one image onto another, resulting in a layered composition that adds depth and intrigue.
How to Capture Double Exposures
- Choose two contrasting images (e.g., a silhouette and a landscape).
- Enable double exposure mode on the camera, if available.
- Layer the images carefully, aligning key features to create a cohesive look.
Bokeh for Beautiful Background Blur
Bokeh refers to the soft, out-of-focus areas in a photo, enhancing the subject by creating a dreamy backdrop. Bokeh is particularly effective in portraits, where the blurred background isolates the subject.
Steps to Achieve Bokeh
- Use a wide aperture (e.g., f/1.8 or f/2.8).
- Increase the distance between the subject and the background for a pronounced effect.
- Choose a lens with a longer focal length (e.g., 85mm or 135mm) for stronger bokeh.

Motion Blur to Highlight Dynamic Movement
Motion blur emphasizes movement, often used in sports, dance, or urban photography. By adjusting the shutter speed, we can capture the motion while keeping parts of the image in focus.
How to Create Motion Blur
- Select a slower shutter speed (e.g., 1/30s) to allow movement to blur.
- Focus on the static parts of the composition to create contrast.
- Experiment with panning by moving the camera along with the moving subject.
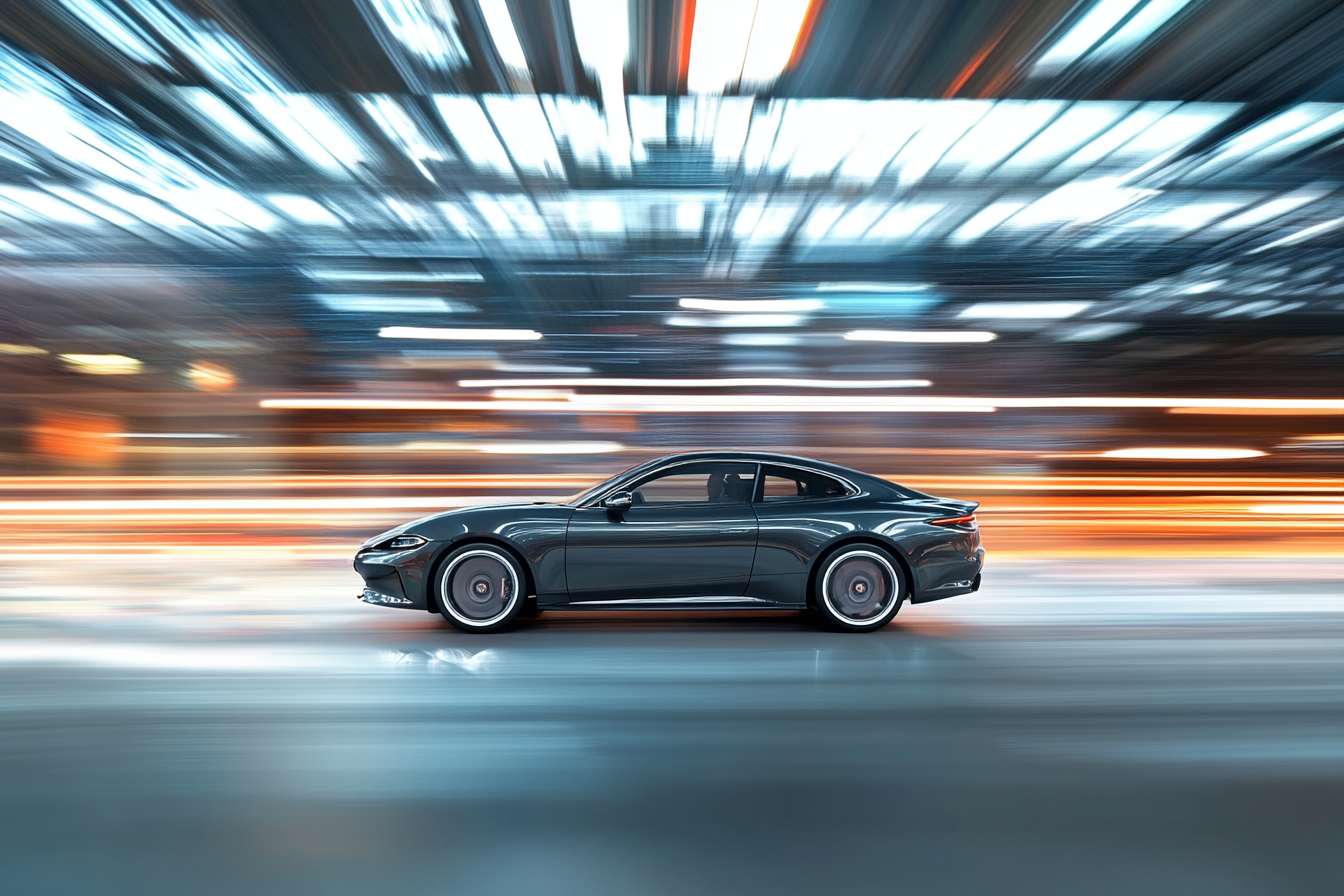
Intentional Camera Movement (ICM) for Abstract Art
Intentional Camera Movement (ICM) involves moving the camera during exposure to create painterly, abstract effects. This technique results in soft, blurred lines that convey motion and color.
Techniques for Effective ICM
- Use a slow shutter speed (e.g., 1/10s).
- Move the camera in a controlled manner, like panning horizontally or vertically.
- Experiment with various motions, such as swirls or tilts, for different effects.
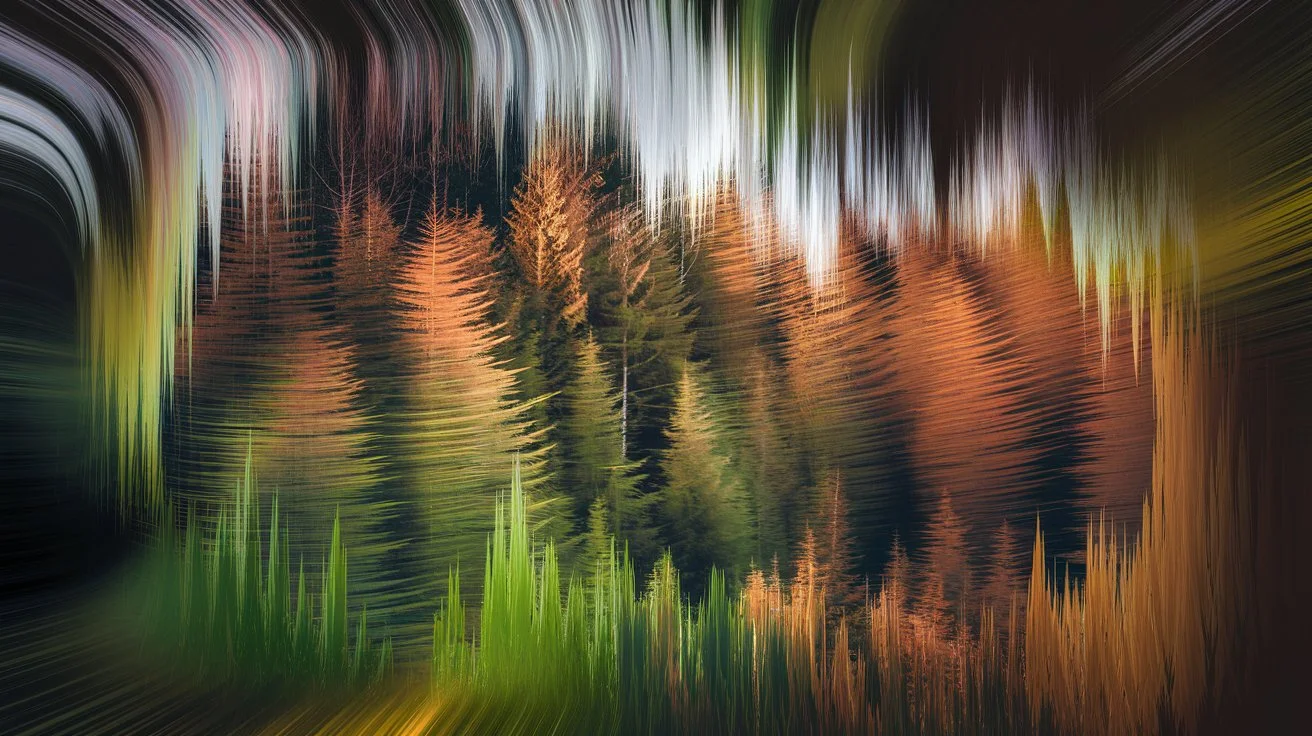
Macro Photography for Intricate Details
Macro photography magnifies small subjects, bringing intricate details to life. This technique is ideal for nature photography, capturing details in flowers, insects, and textures.
Tips for Stunning Macro Shots
- Use a dedicated macro lens with high magnification.
- Employ a small aperture (e.g., f/16) to increase the depth of field.
- Stabilize the camera with a tripod for sharpness, especially in close-up shots.
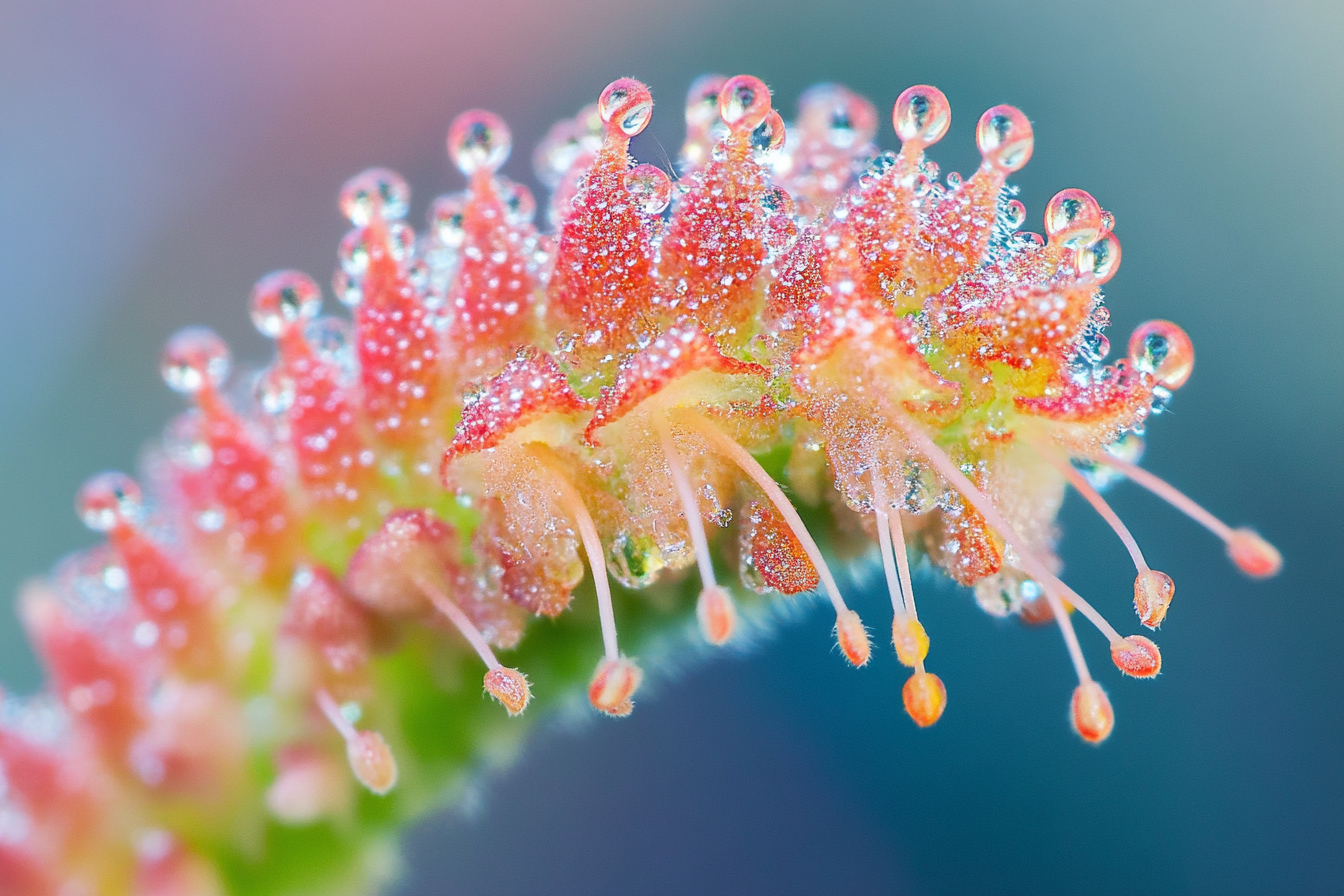
Light Painting to Illuminate Darkness
Light painting is a creative technique where the photographer uses a light source to “paint” parts of the scene. By moving the light source during long exposure, we can add unique textures and highlights.
Guide to Light Painting
- Set the camera to long exposure mode (10-30 seconds).
- Use a small flashlight or LED light as a brush.
- Experiment with different light colors and movements to create interesting effects.
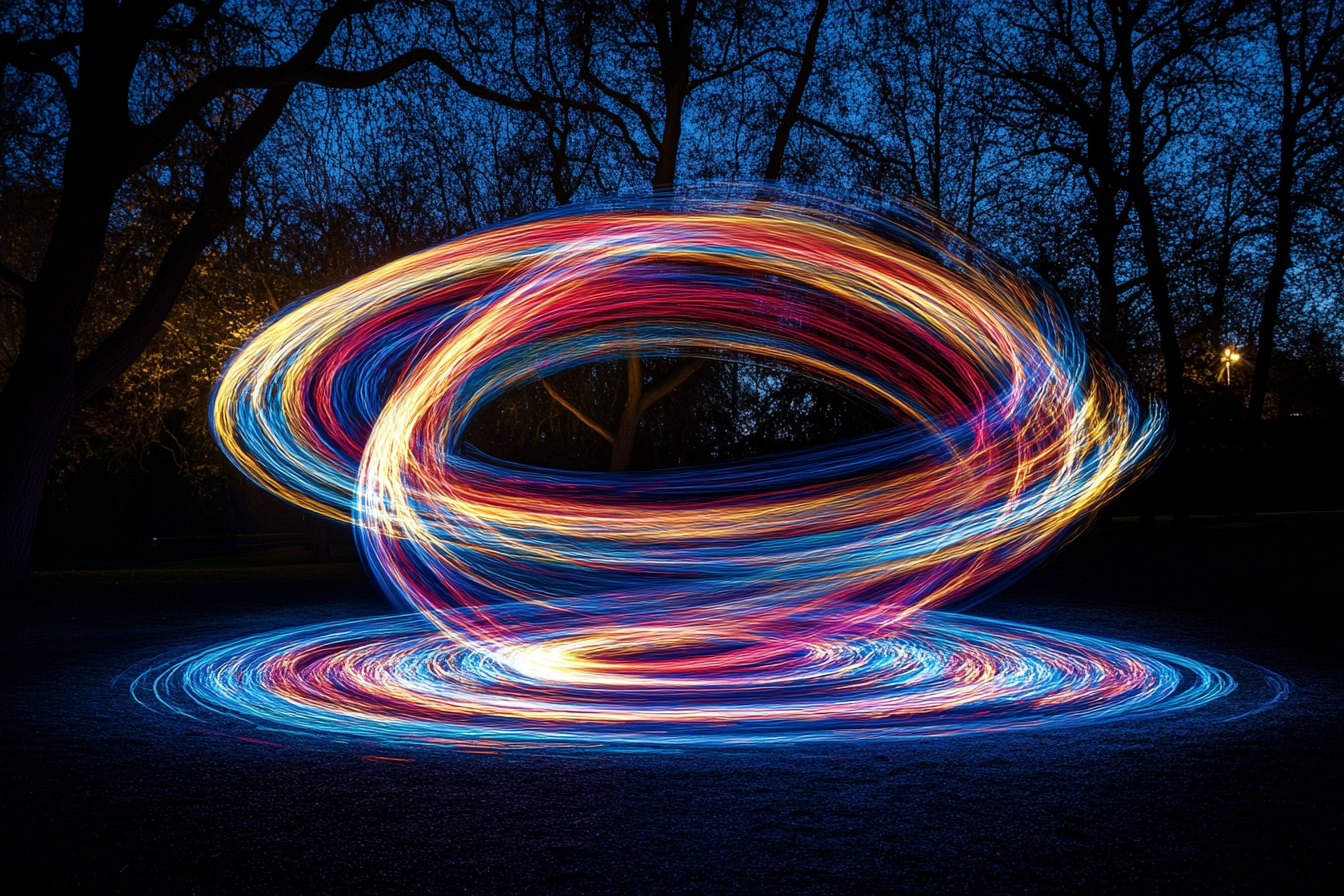
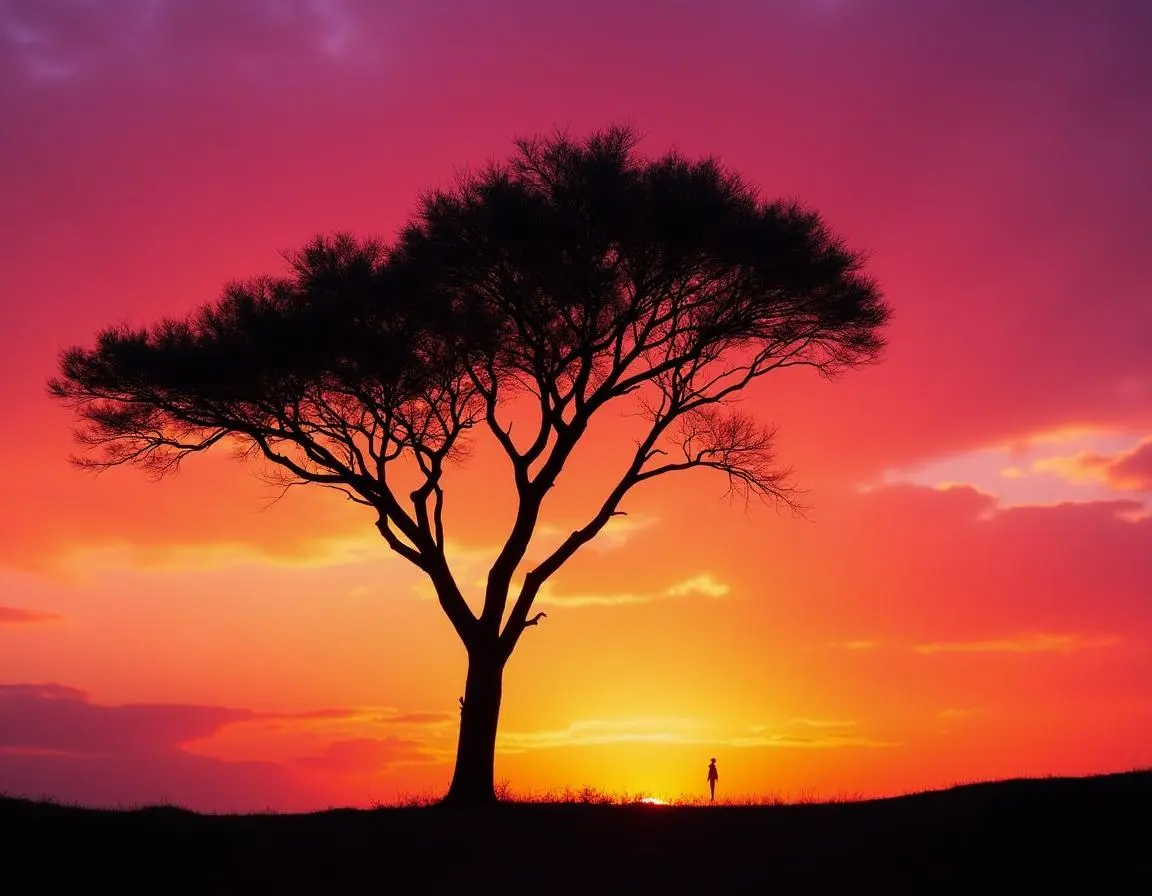
Silhouettes for Bold Contrast
Silhouettes emphasize the shape of a subject by placing them against a bright background, with the subject in shadow. This technique often evokes mystery or simplicity.
How to Create Silhouettes
- Position the subject between the camera and the light source (e.g., sunrise or sunset).
- Expose for the background rather than the subject.
- Use a narrow aperture to ensure the subject’s shape is well-defined.
High-Key and Low-Key Photography for Emotional Tone
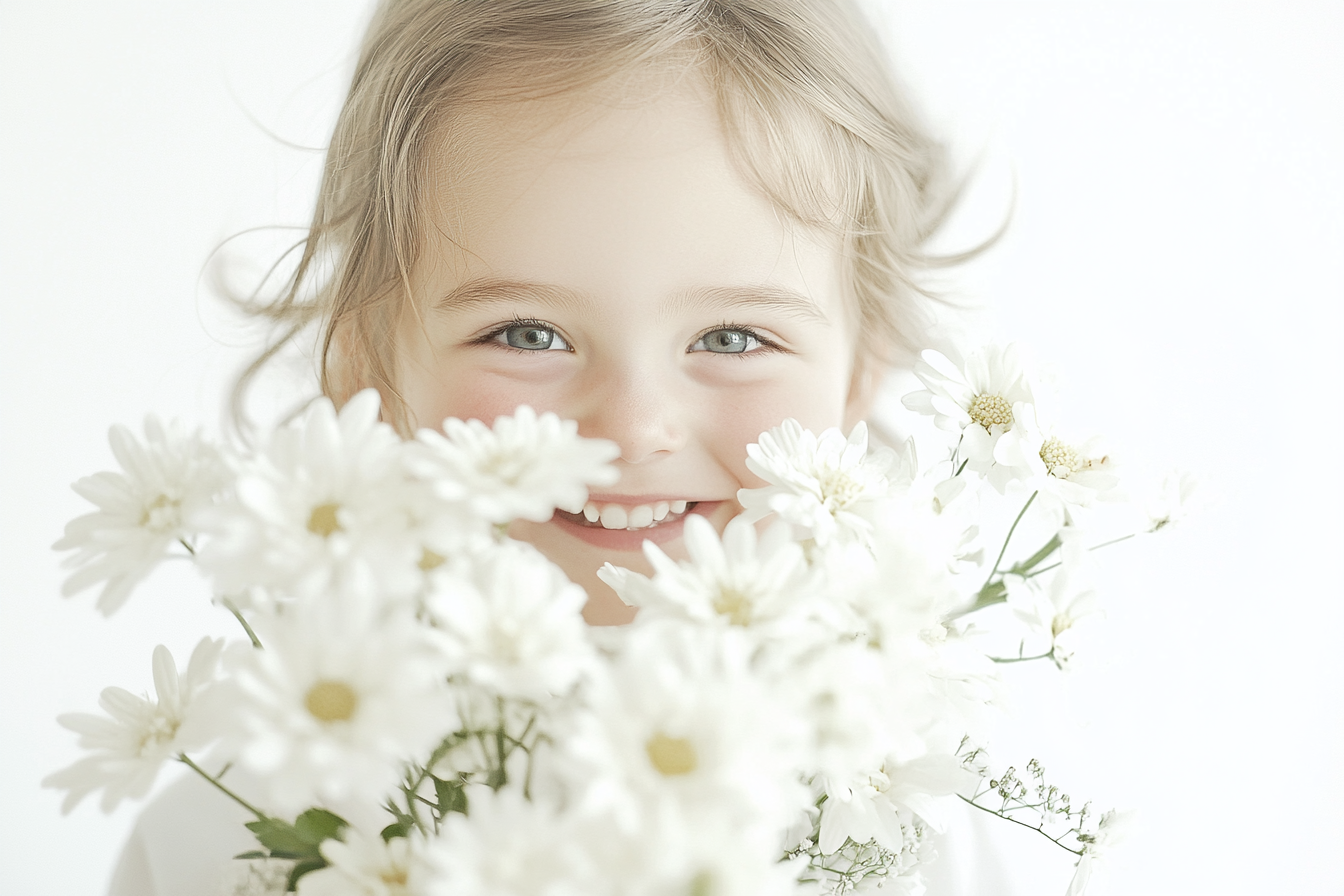
High-key photography uses bright lighting to create a light, airy feel, while low-key photography emphasizes dark tones for dramatic, moody effects.
Steps for High-Key and Low-Key Effects
- High-Key: Use bright, even lighting and adjust exposure for a soft look.
- Low-Key: Use a single light source to create shadows and depth, lowering exposure for contrast.
Reflections for Depth and Symmetry
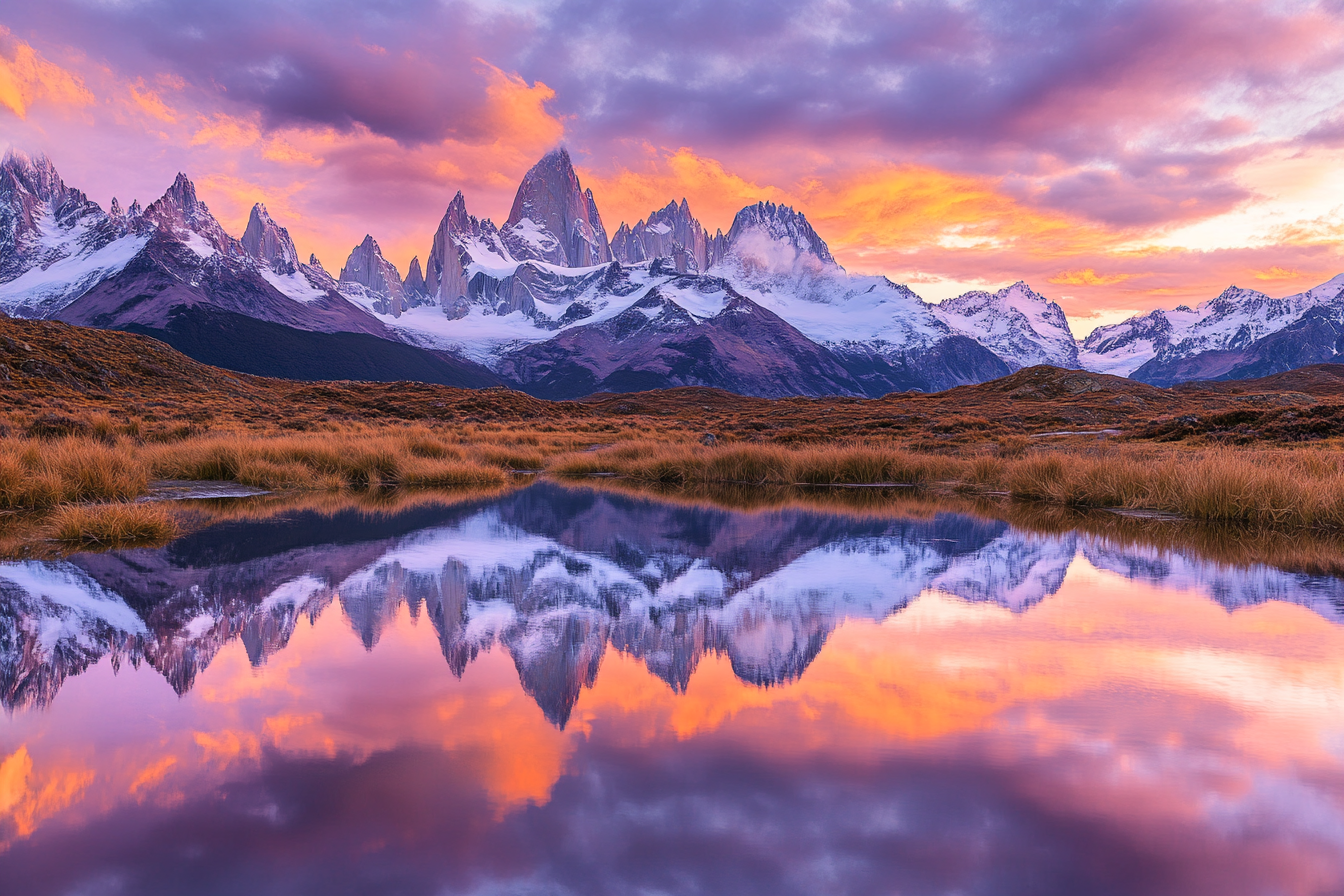
Reflections add symmetry and depth, enhancing compositions. By photographing subjects reflected in water or mirrors, we can achieve balanced, eye-catching images.
Tips for Reflection Photography
- Look for calm water surfaces or glass for clearer reflections.
- Compose the shot symmetrically, aligning the reflection with the subject.
- Experiment with angles to find the best view of the reflection.
Using Shadows Creatively
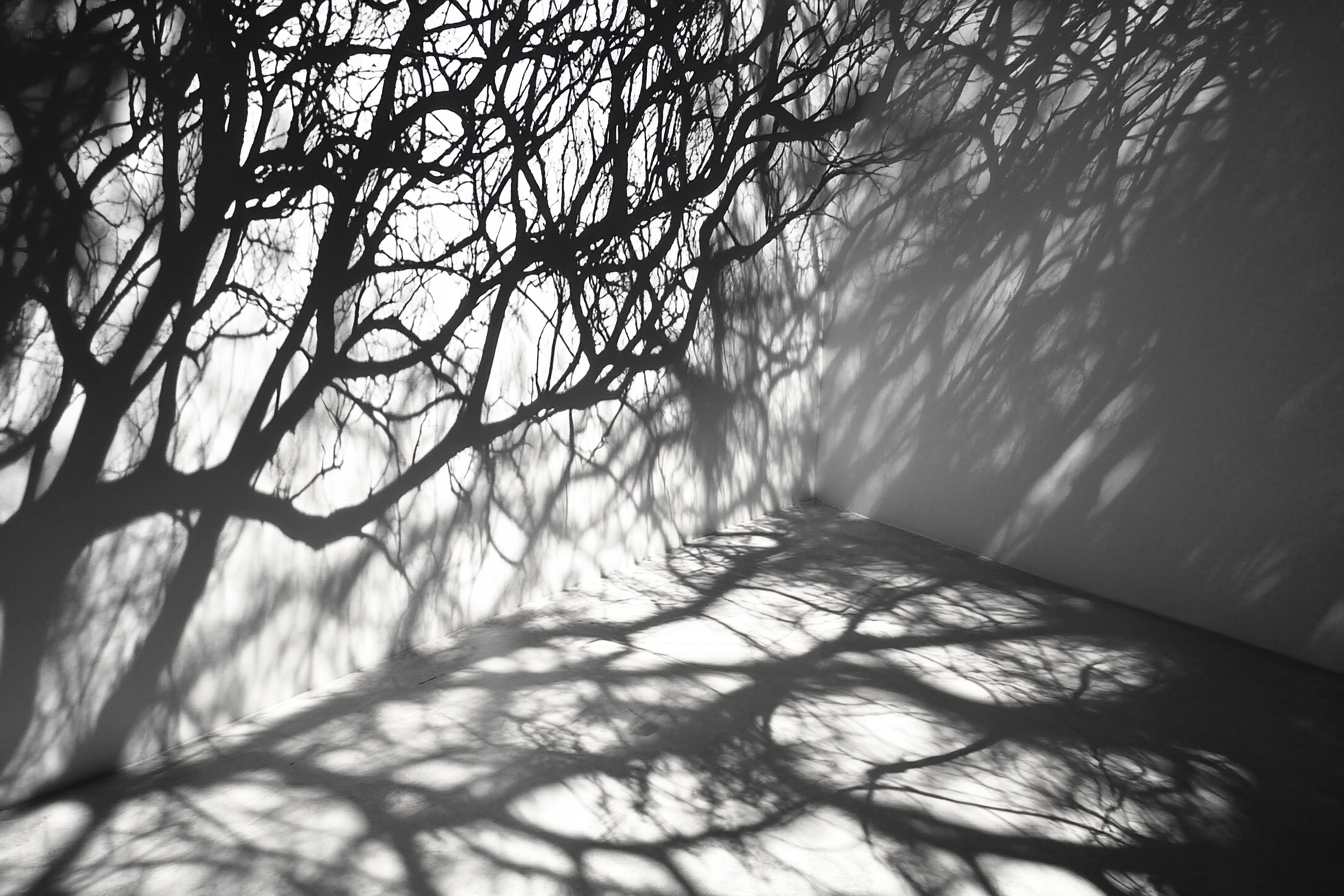
Shadows add mystery and dimension, creating dramatic contrasts. Photographers can use natural or artificial light to manipulate shadows within their compositions.
Techniques for Shadow Photography
- Experiment with hard light sources for sharp shadows.
- Use objects with interesting shapes to cast unique shadows.
- Balance light and shadow for a harmonious composition.
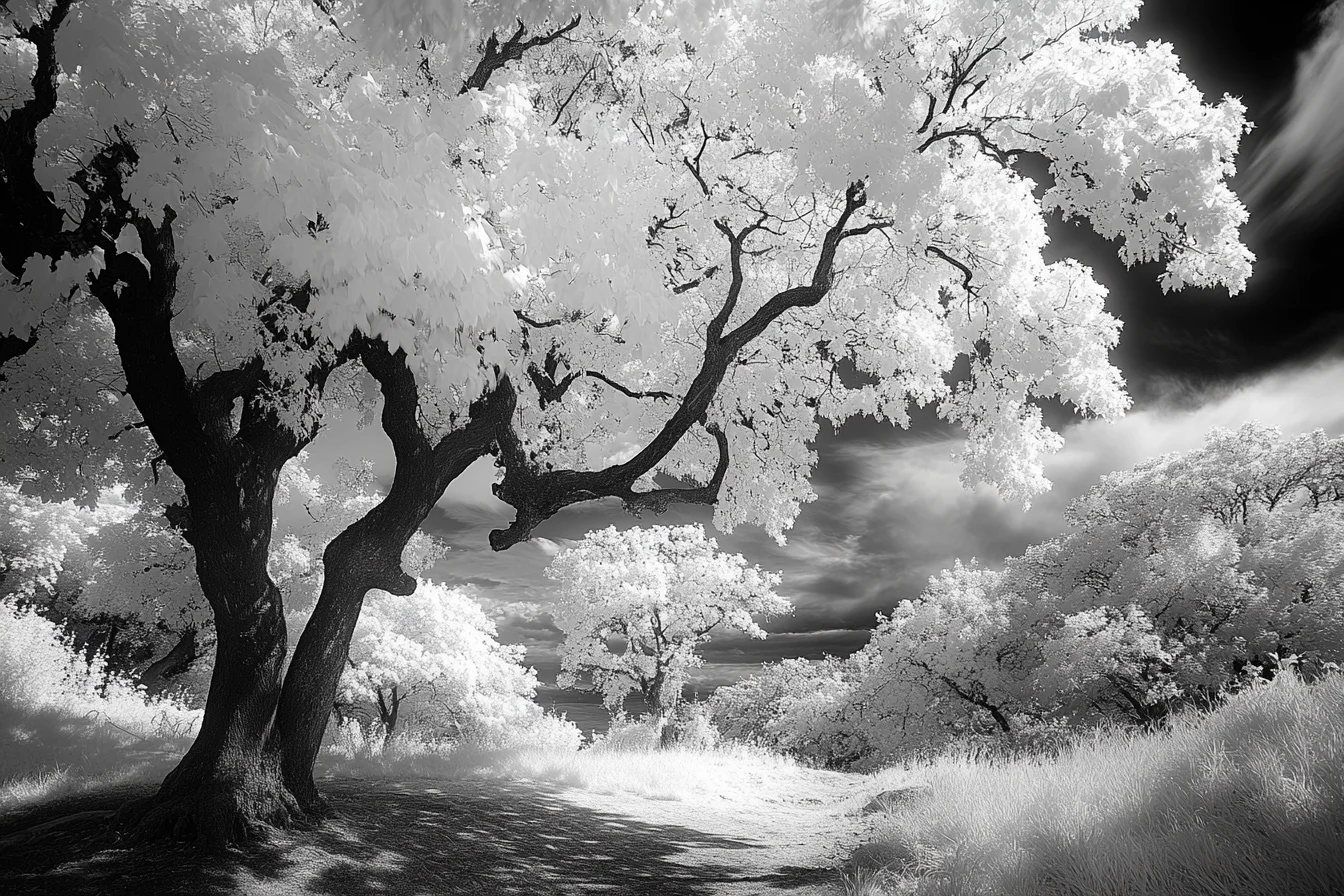
Infrared Photography for Otherworldly Effects
Infrared photography captures light not visible to the human eye, resulting in surreal images where foliage appears white, and skies are darkened. This technique requires specialized equipment or camera modifications.
Guide to Infrared Photography
- Use an infrared filter or a converted infrared camera.
- Shoot on sunny days for optimal contrast.
- Adjust post-processing to enhance the unique color effects.
HDR Photography for Enhanced Detail
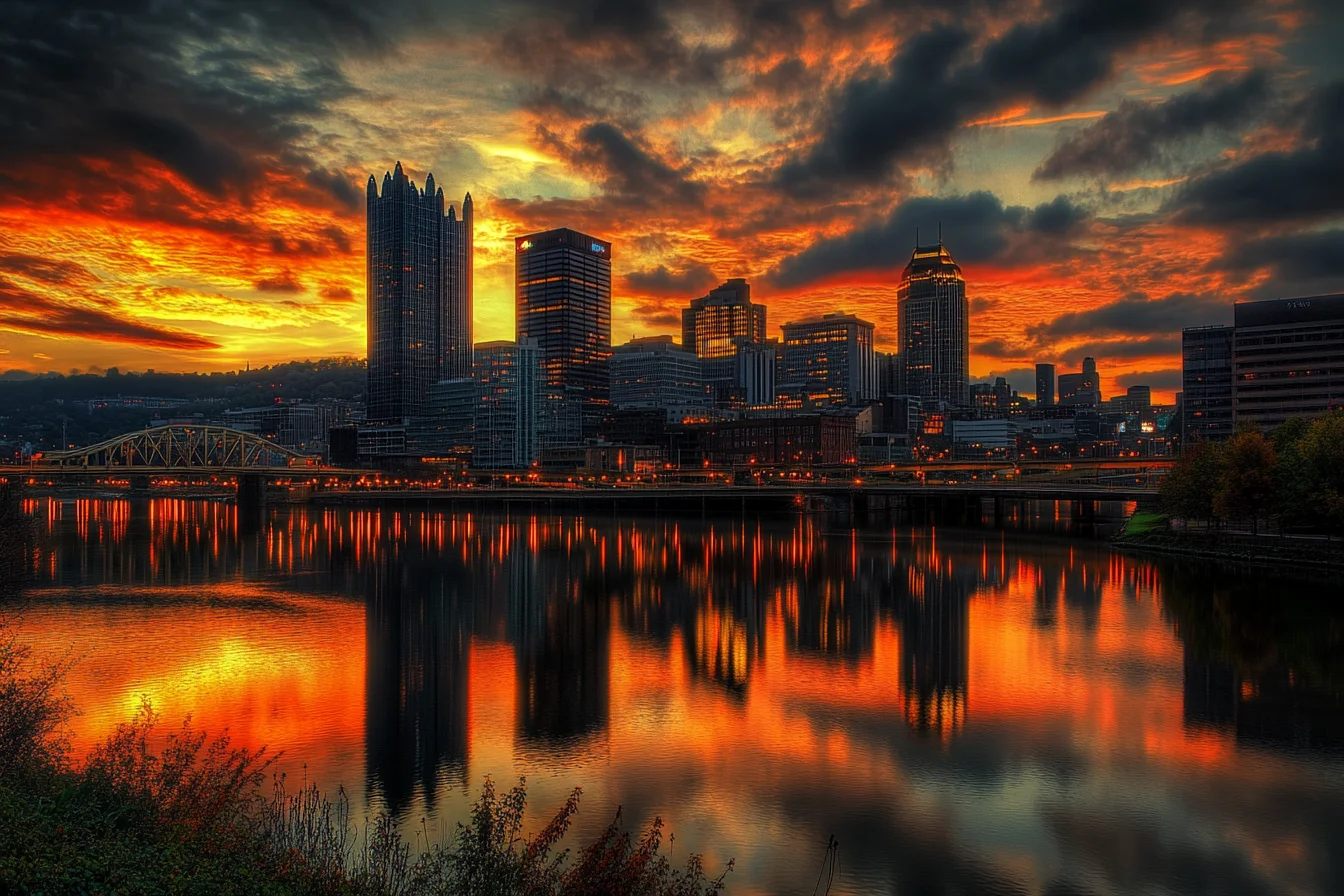
High Dynamic Range (HDR) photography combines multiple exposures to bring out details in both highlights and shadows, creating a well-balanced image with high clarity.
How to Create HDR Images
- Capture multiple exposures (bracketing) of the same scene.
- Use HDR software to merge exposures and adjust detail levels.
- Refine the final image to avoid over-saturation or unnatural tones.
Forced Perspective for Creative Illusions
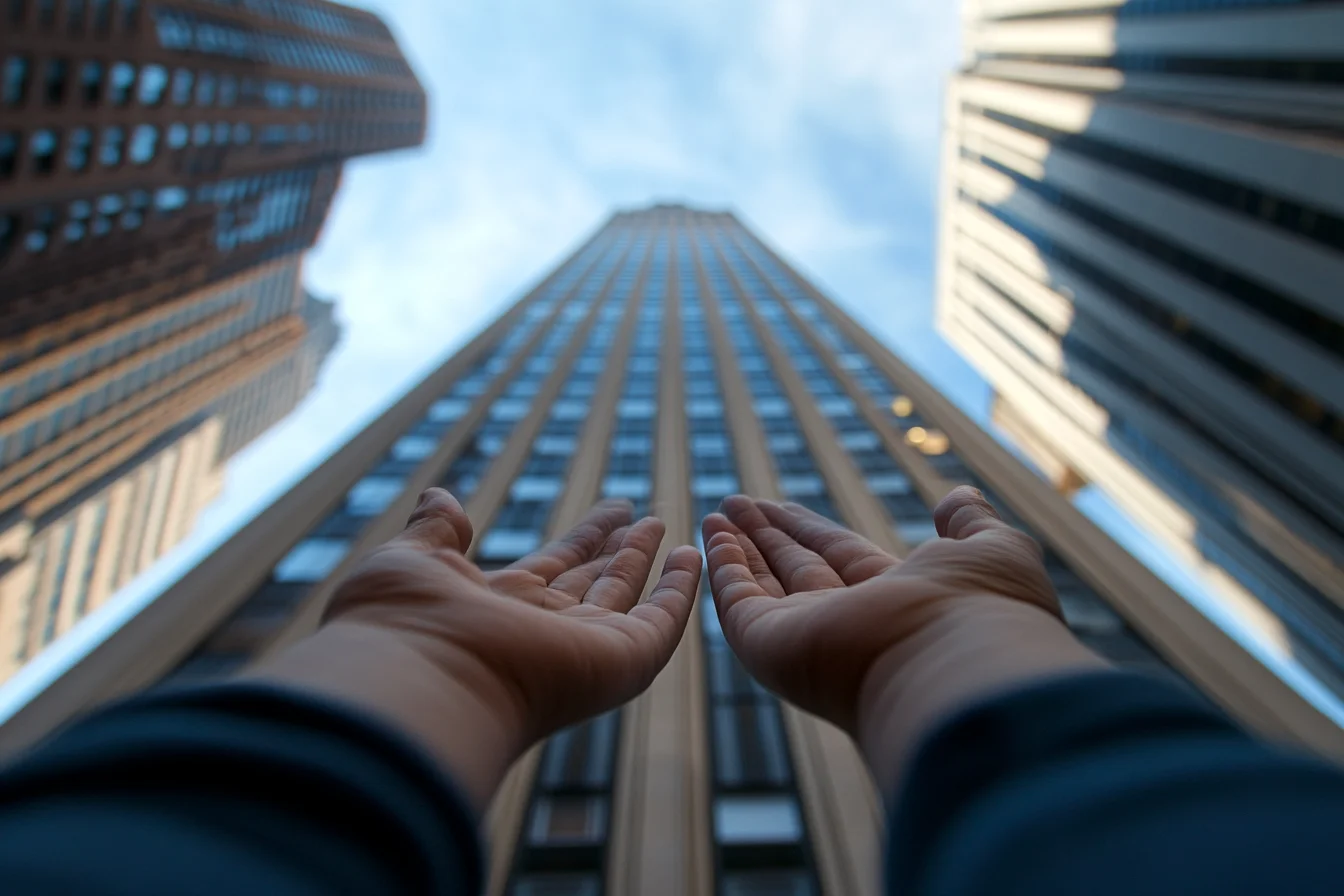
Forced perspective manipulates the viewer’s perception, often creating amusing or surreal scenes by playing with relative sizes.
Tips for Forced Perspective Shots
- Experiment with subject placement to alter perceived size.
- Use a narrow aperture for a broad depth of field, ensuring all elements are in focus.
- Get creative with angles and distances to perfect the illusion.
Light Trails for Vibrant Night Photography
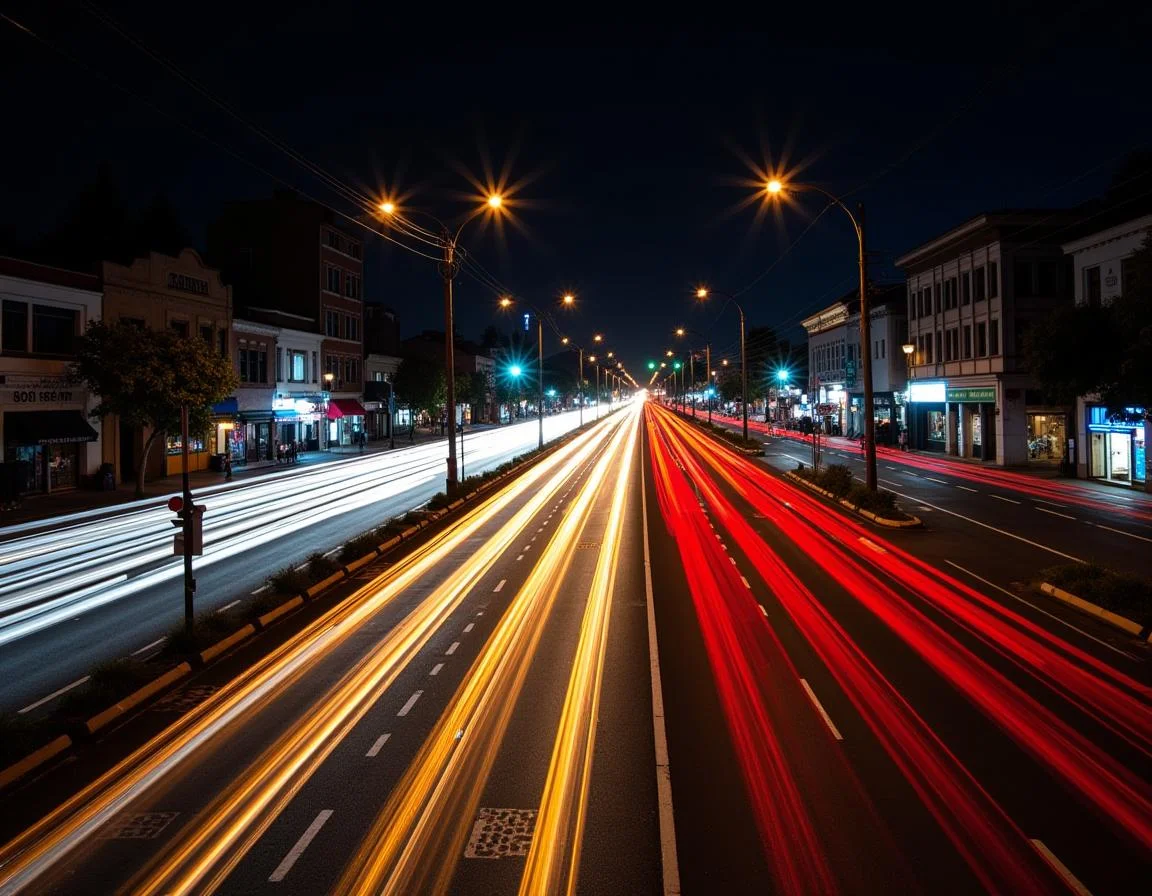
Light trails are popular in night photography, especially for urban scenes. By using long exposure, we can capture car lights or other moving light sources as colorful streaks.
Steps for Capturing Light Trails
- Set the camera to a long exposure (e.g., 10-30 seconds).
- Stabilize with a tripod to avoid camera shake.
- Adjust aperture and ISO to prevent overexposure.
Each of these techniques provides photographers with tools to craft compelling images that captivate viewers, making photography an ever-evolving art form.
FAQs
How can I start with creative photography?
Pick one technique, like long exposure, and practice adjusting settings in manual mode.
Do I need special equipment?
Some techniques need extra gear, like a tripod, but many can be done with a standard camera.
Can I use a smartphone for these effects?
Yes, many smartphones support creative techniques, though a dedicated camera offers more control.

